Who can use this feature?
Add a task
There are two ways to archive a client or lead:
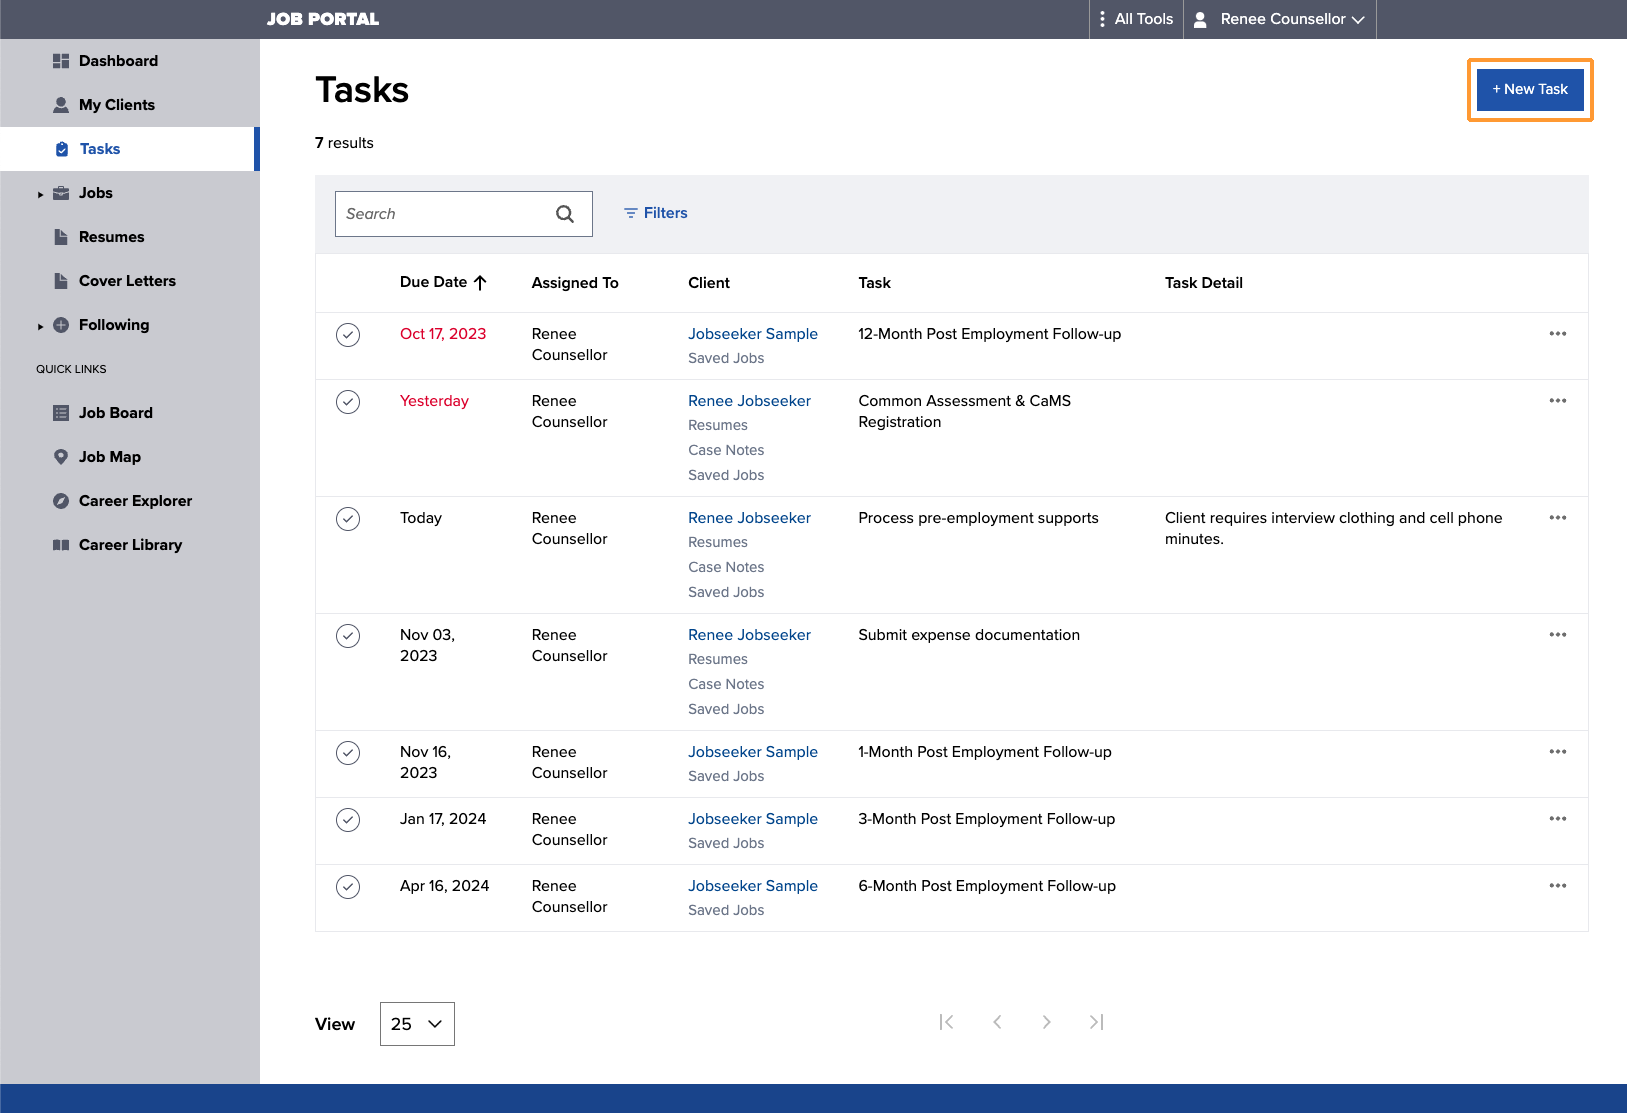
From the Tasks screen
1. Select +New Task.
2. In the Add Task window, the following information can then be entered:
- Client: Specify the client the task is related to.
- Task Name: State what needs to be done.
- Due Date: Choose a due date for the task.
- Who’s Responsible: A task can be assigned to one or more caseworkers.
- Details (optional): Provide a description for the task, be as detailed as you wish.
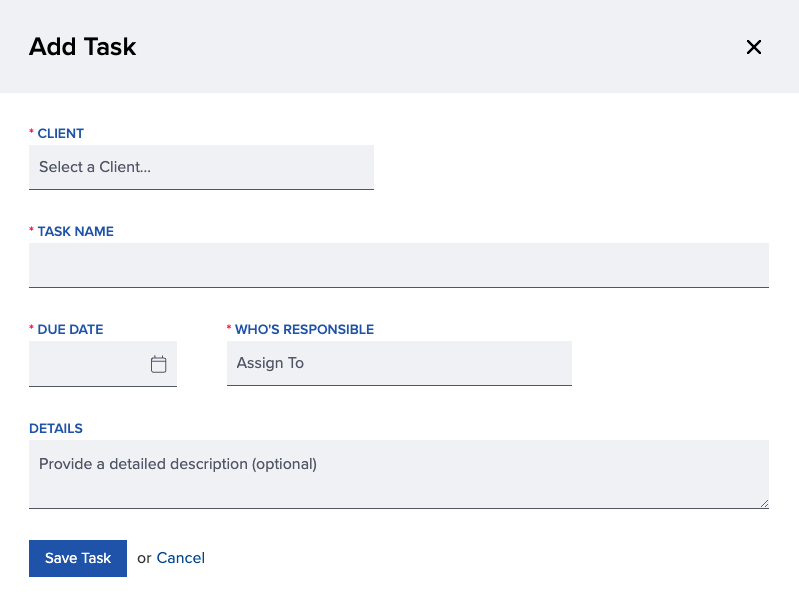
3. Select Save Task to complete the action.
From a user profile
1. Navigate to the Case Notes tab and select +New Task.

2. In the Add Task window, the following information can then be entered:
- Client:
- Task Name: What needs to be done.
- Due Date: Choose a due date for the task.
- Who’s Responsible: A task can be assigned to one or more caseworkers.
- Details (optional): Provide a description for the task, be as detailed as you wish.
3. Select Save Task to complete the action.
Edit a task
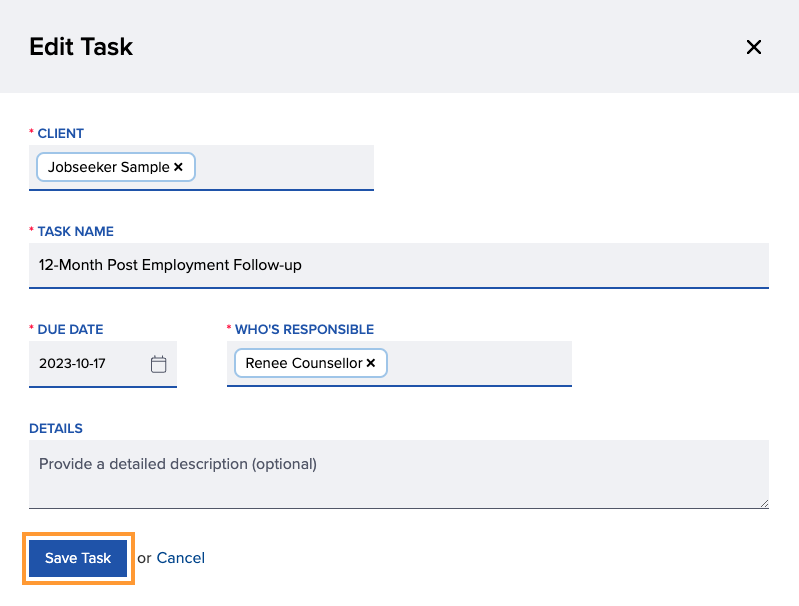
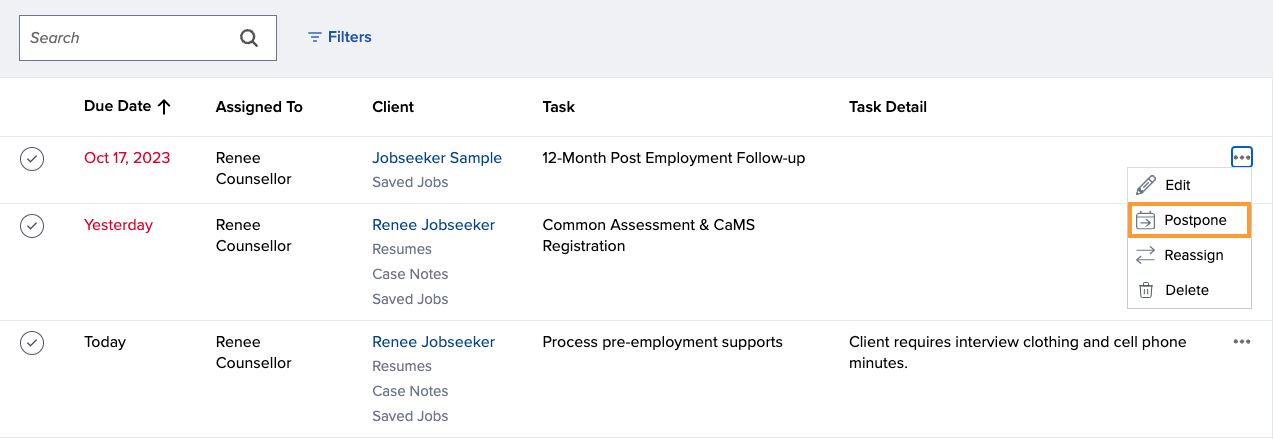
1. Navigate to the Tasks screen, select the 3-dots icon and choose Edit.

2. Make your desired edits and select Save Task.
Reschedule a task
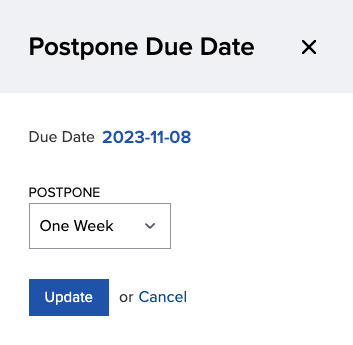
1. Navigate to the Tasks screen, select the 3-dots icon and choose Postpone.
2. Choose one of the Postpone options and select Update.
Postpone options include:
- One Week: Reschedules the task one week past the original due date.
- Two Weeks: Reschedules the task two weeks past the original due date.
- Three Weeks: Reschedules the task three weeks past the original due date.
- Four Weeks: Reschedules the task four weeks past the original due date.
- Custom Date: Allows you to specify a new due date.
Reassign a task
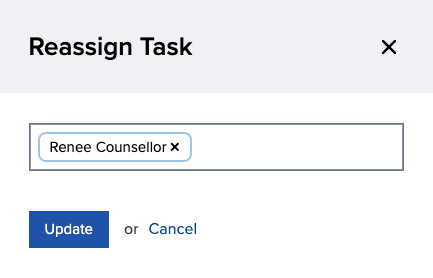
1. Navigate to the Tasks screen, select the 3-dots icon and choose Reassign.
2. You can remove the existing staff and add a new staff member or leave the existing assignment and add another staff member. Select Update to complete the action.
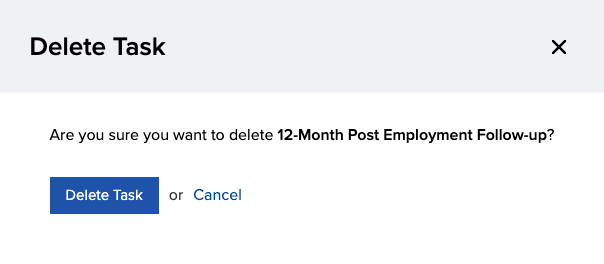
Delete a task
1. Navigate to the Tasks screen, select the 3-dots icon and choose Delete.
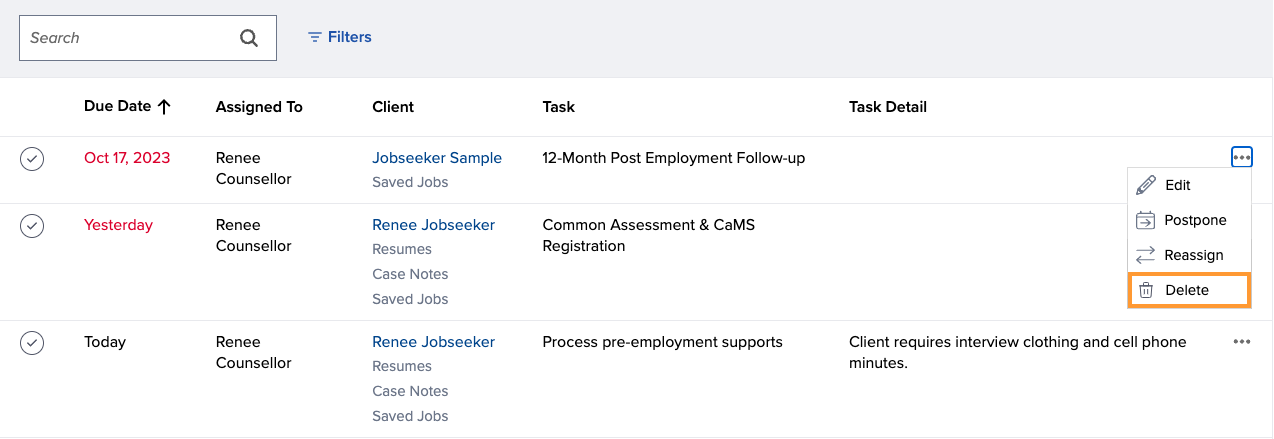
2. Select Delete Task to complete the action.