Who can use this feature?
The Case Notes feature within the Service Provider Portal allows you to efficiently document and track interactions, updates, and other relevant information related to your clients. This tool ensures that all team members have access to up-to-date information, enabling better coordination and service delivery.
Add a new case note
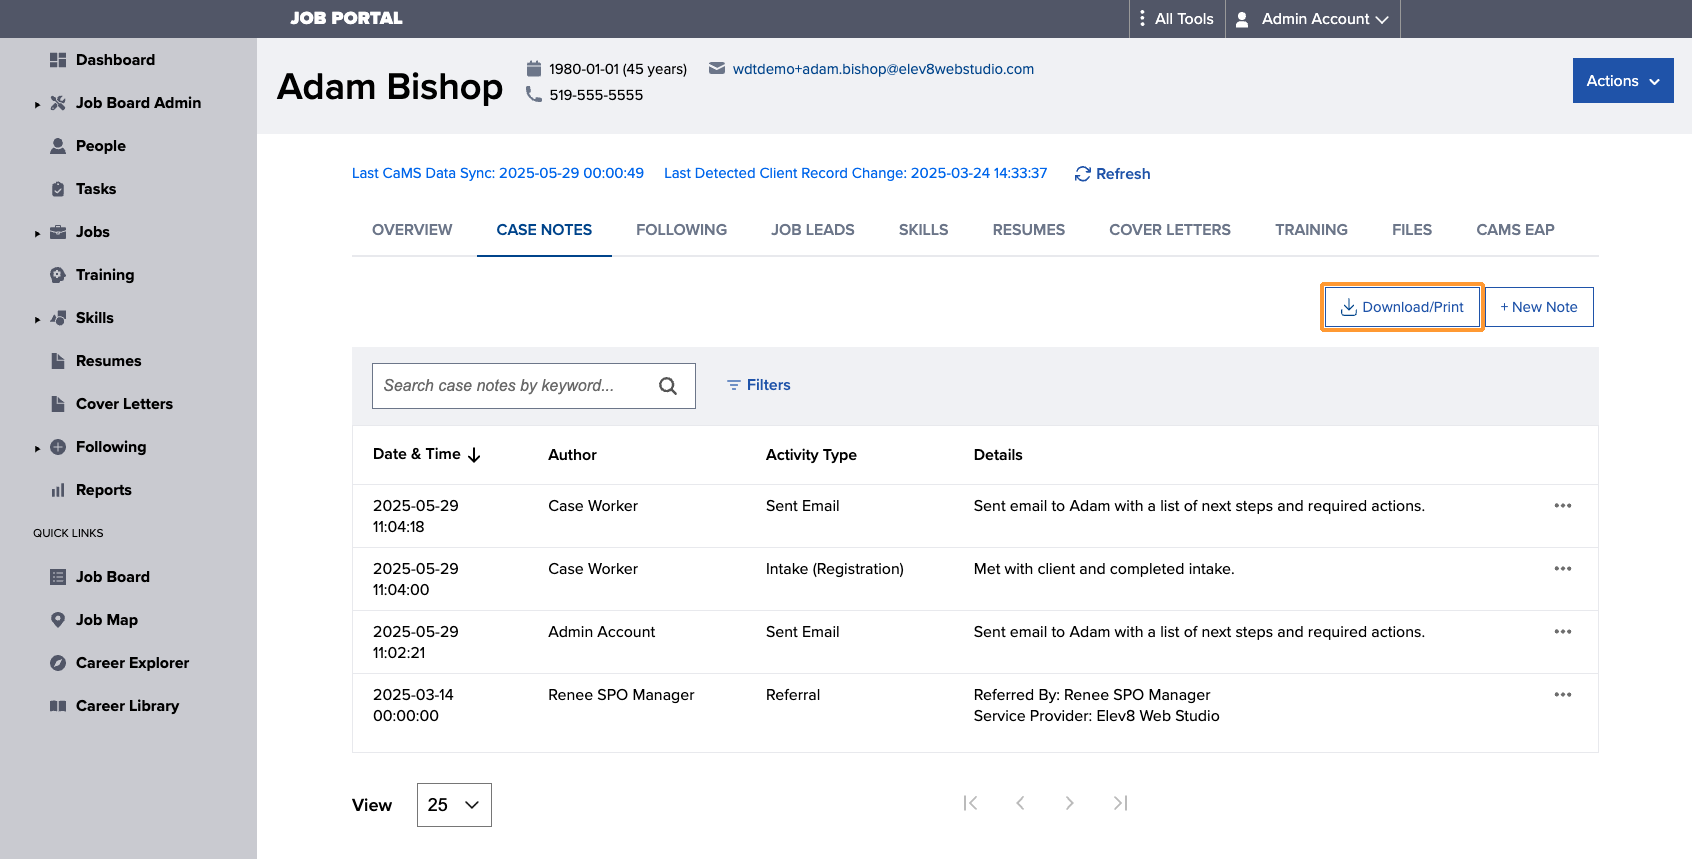
1. Access the Client’s Profile: From the People screen, select the client you wish to add a case note for.
2. Locate Case Notes tab: Navigate to the Case Notes tab and select + New Note.

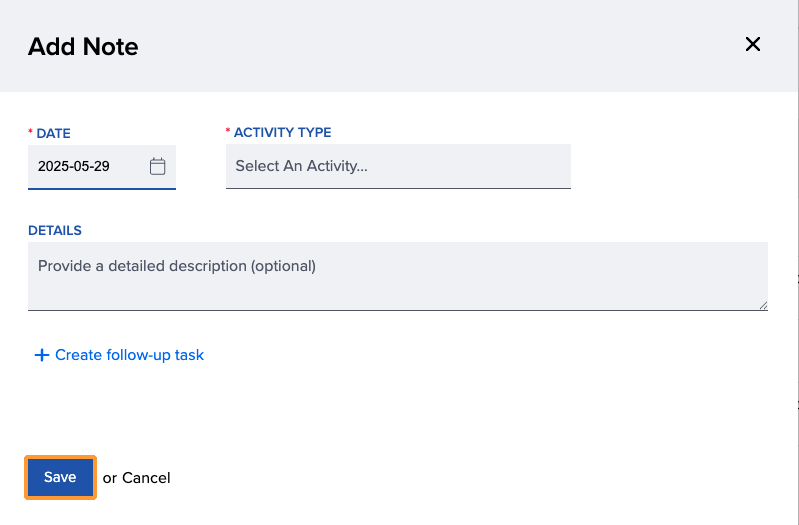
3. Add a New Note: The Add Note window will appear allowing you to:
- Input a Date: This will automatically default to today’s date).
- Add an Activity Type
- Provide Details (optional)
- Create a Follow-Up Task (optional)
4. Save the Note: Once you’ve completed the note, select Save.

Create follow-up tasks
Follow-up tasks can be captured right from the note screen, helping to streamline case management.
1. Open Follow-up Task: From the Add Note window, select + Create follow-up task.
2. Create Follow-up Task: The Add Task section will open allowing you to fill in the following fields:
- Task Name: Give the task a clear and descriptive title.
- Assign to Client (optional): Choose whether to assign the task to the client.
- Due Date: Set a deadline for completing the task.
- Repeats: If the task should recur, select how often it repeats.
- Who’s Responsible: Assign one or more people responsible for completing the task.
- Details (optional): Add any additional notes or instructions.
3. Save: If you’re adding more than one follow-up task, click Save Task after entering each one. When you’re finished—or if you’re only adding a single task only—click Save at the bottom of the window to save both the note and the task.

Edit an existing case note
1. Open Case Note: To edit an existing note, select the 3-dots icon and choose Edit.

2. Edit Case Note: Make your desired edits and select Save.
Delete a case note
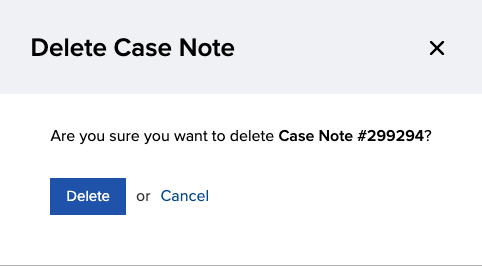
1. Open Case Note: To delete a note, select the 3-dots icon and choose Delete.

2. Delete Case Note: Select Delete to confirm action.
Print case notes
1. From the Case Notes tab of the Client Profile, select Download/Print.
2. In the Print Preview screen, select Download/Print.

3. In the Destination dropdown field of the Print Dialogue window, select Save as PDF if you wish to download the case notes, or choose your printer if you prefer to print a hard copy.

Case note locking
To maintain data integrity, Case Notes are automatically locked after a set number of days, preventing further edits, deletions, or backdated entries.
- Group-Specific Locking Rules: Each System Service Manager (SSM) configures its own locking period. The default is 14 days, while some have a 2-day locking period. If you are unsure about your organization’s case note locking policy, please contact your manager for clarification.
- Locked Notes: After the locking period, case notes remain viewable but cannot be edited or deleted.
- Backdated Entries Restricted: New case notes cannot be created with a date earlier than the lock period.
- Administrator Override: Administrators or Portal Staff with the Service Provider Group permission to manage Clients, can edit locked case notes across their service provider group.