Who can use this feature?
Create a new cover letter
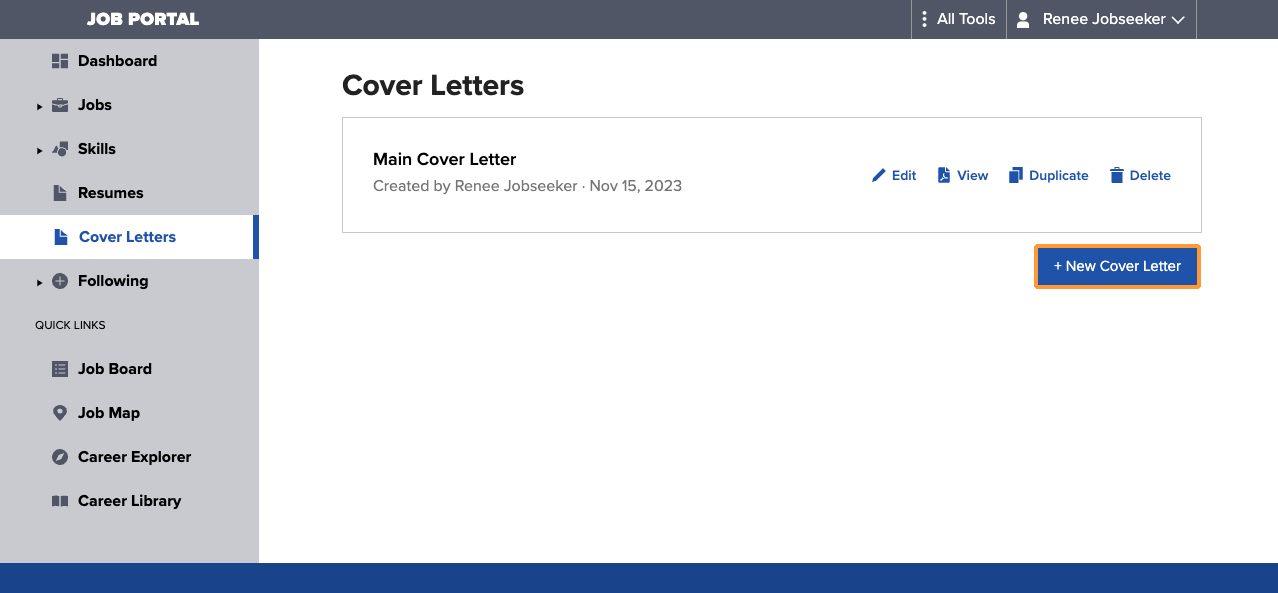
1. Navigate to Cover Letters in the left-hand portal menu, then select +New Cover Letter.
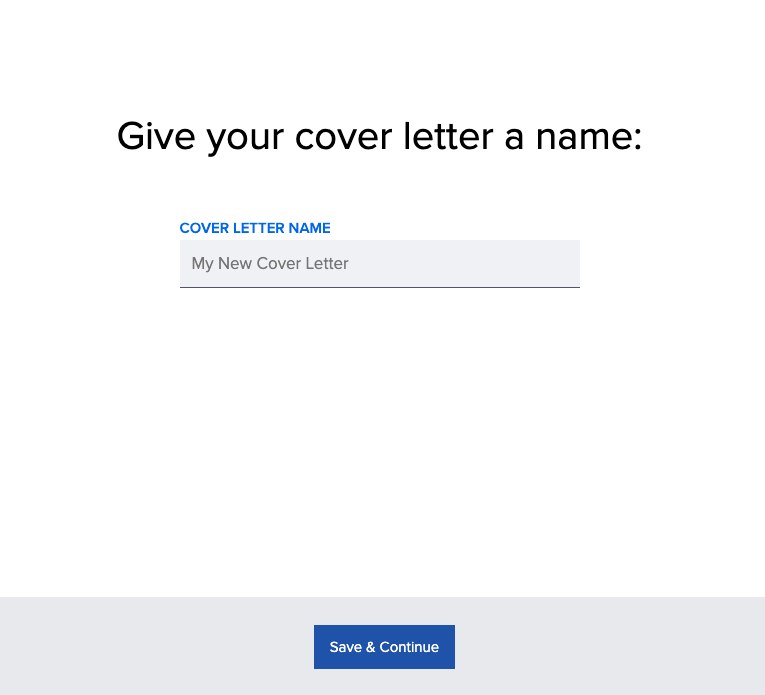
2. Cover Letter Name: Provide a name for the cover letter and select Save & Continue.
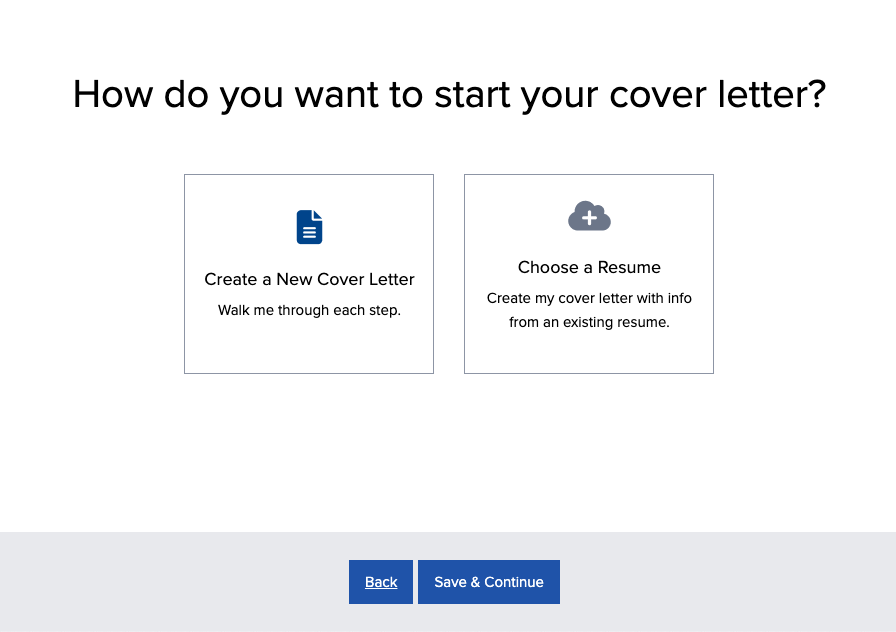
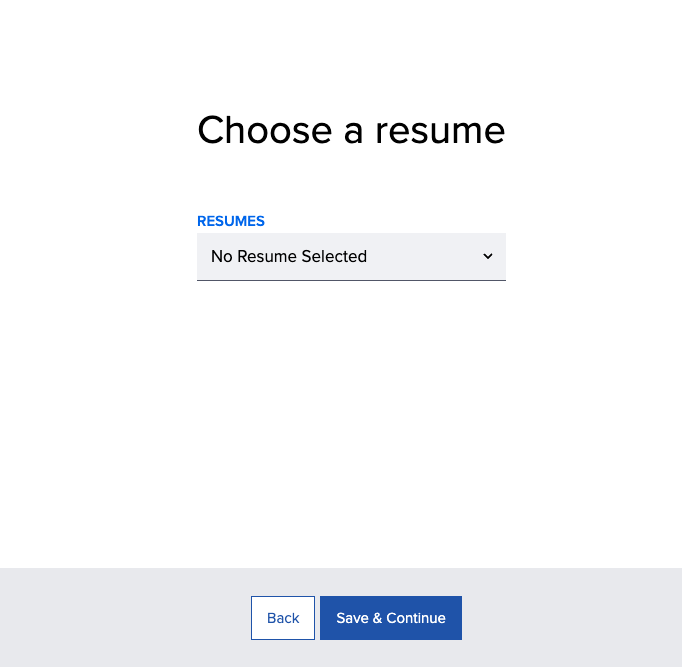
3b. Choose a Resume: Choose one of your saved resumes and select Save & Continue.
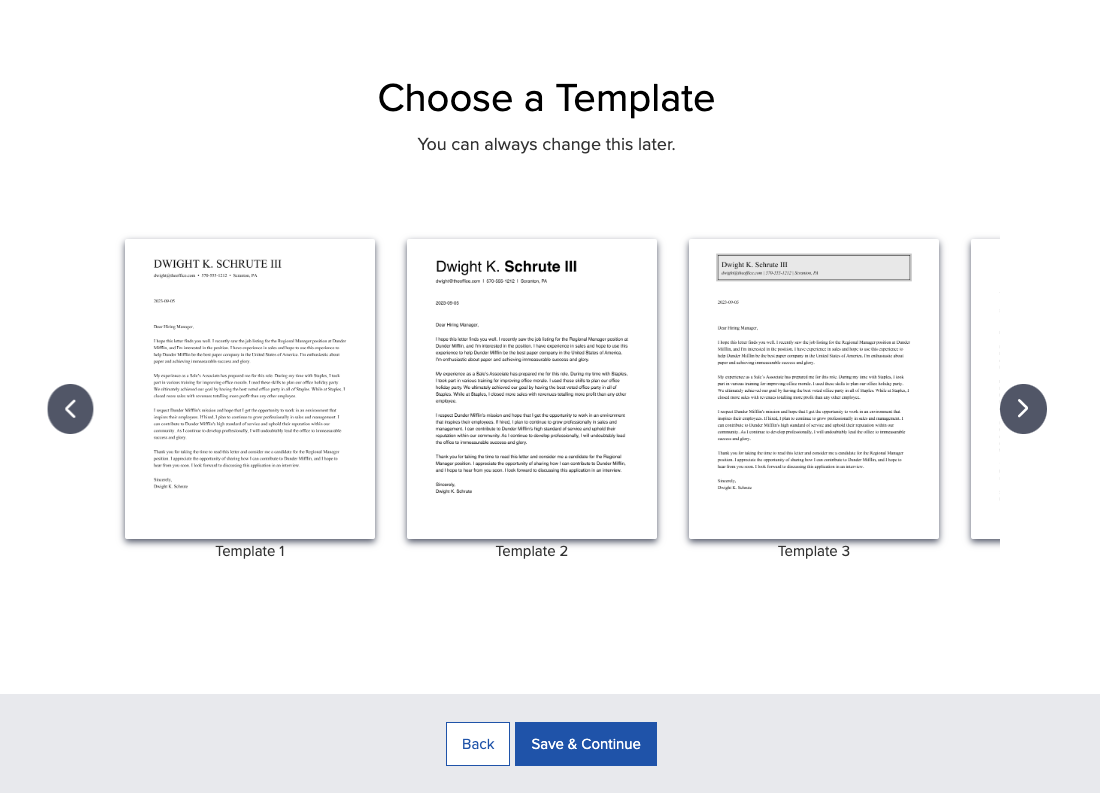
4. Choose a Template: Select a template and hit Save & Continue.
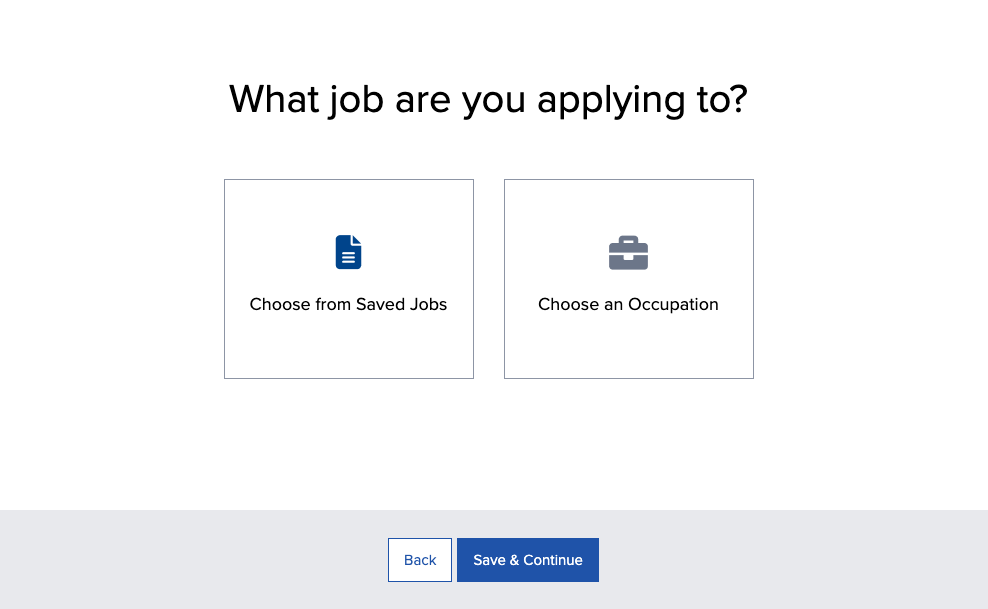
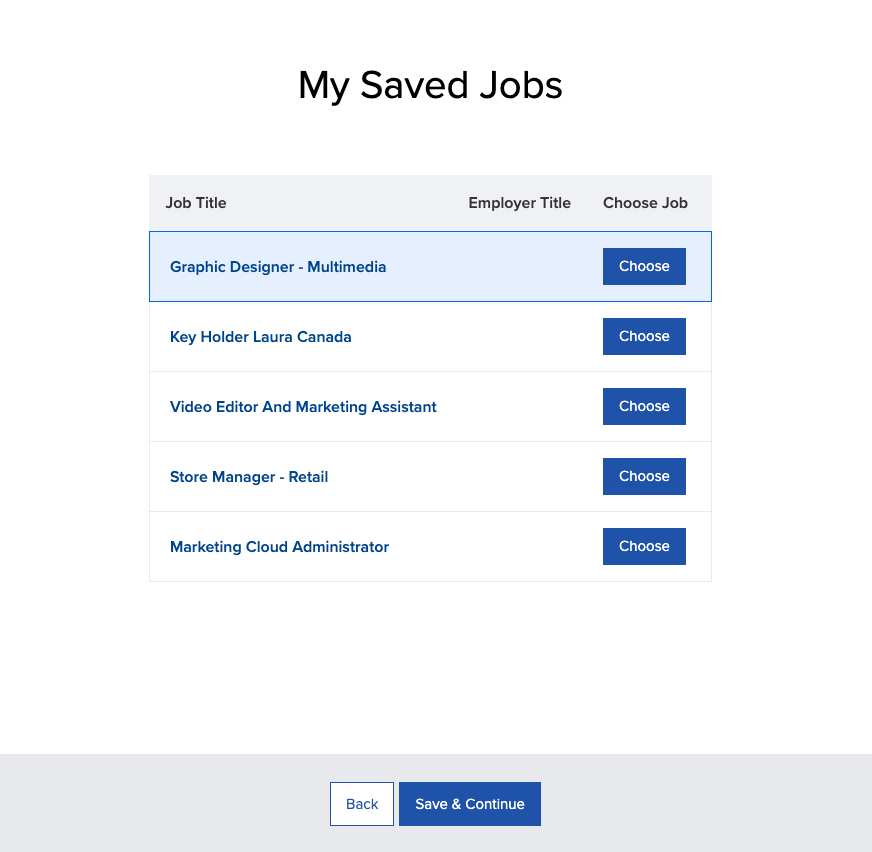
6a. My Saved Jobs: Choose the saved job you’re applying to and select Save & Continue.
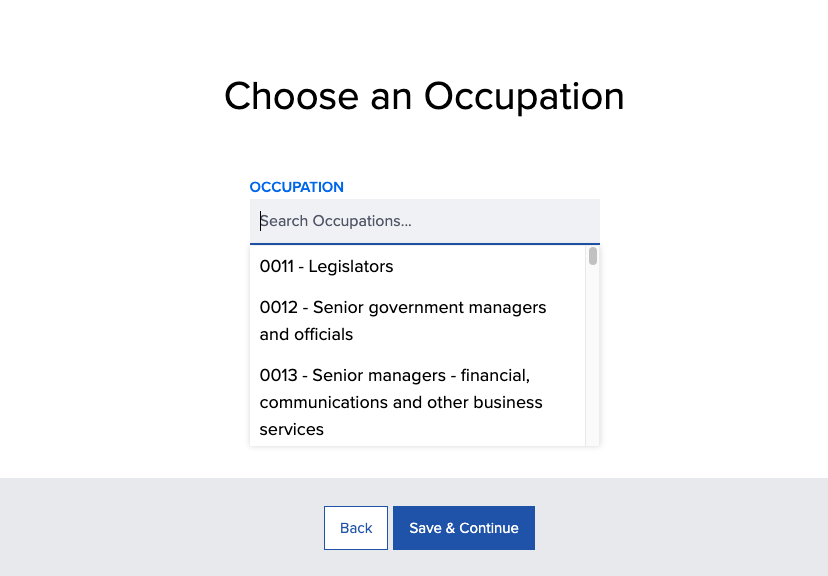
6b. Choose an Occupation: Select or type an occupation name, then hit Save & Continue.
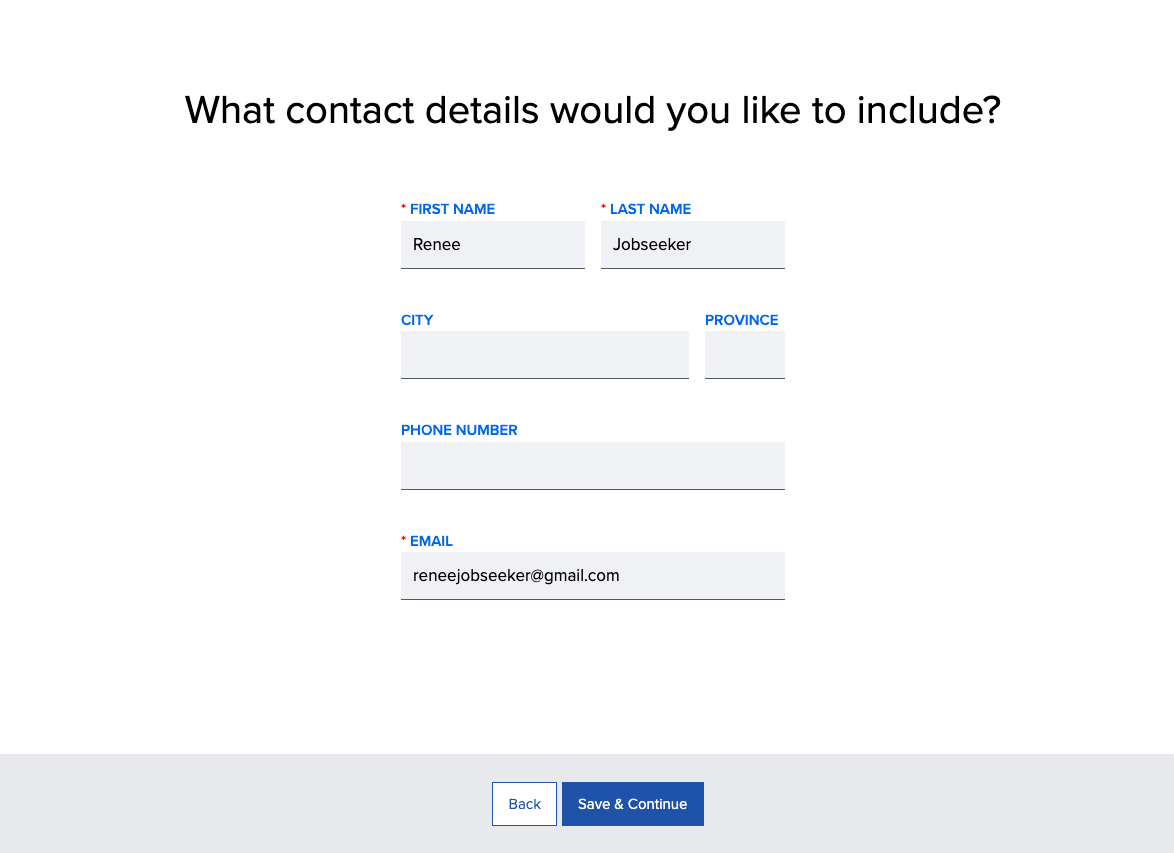
7. Contact Details: Select or type an occupation name, then hit Save & Continue.
Note: Any contact details you’ve provided in your Jobs Portal profile will be automatically included however you still have the option of updating the contact information you wish to include in your cover letter.
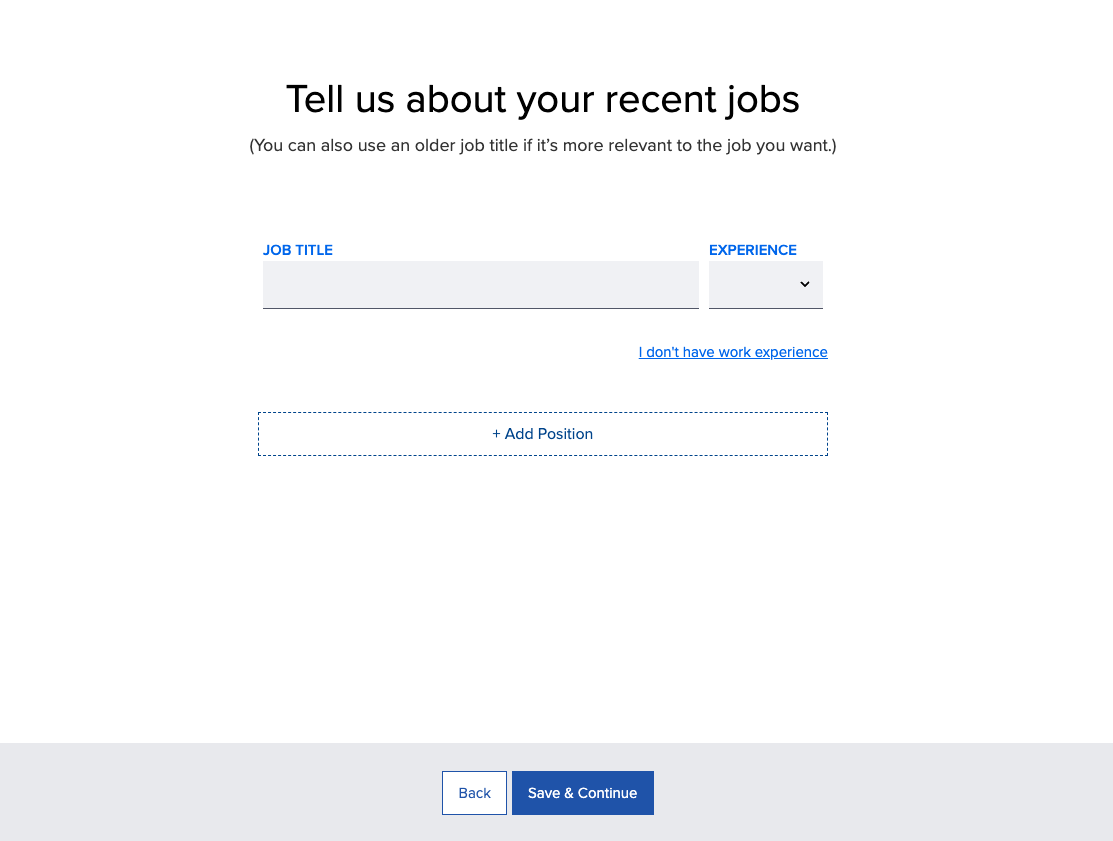
8. Recent Jobs: Enter your most recent job title and years of experience. You can also use an older job title if it’s more relevant to the job you want.
Choose +Add Position if you would like to include multiple jobs in your cover letter.
Select I don’t have work experience if you’d like to skip this step.
Hit Save & Continue.
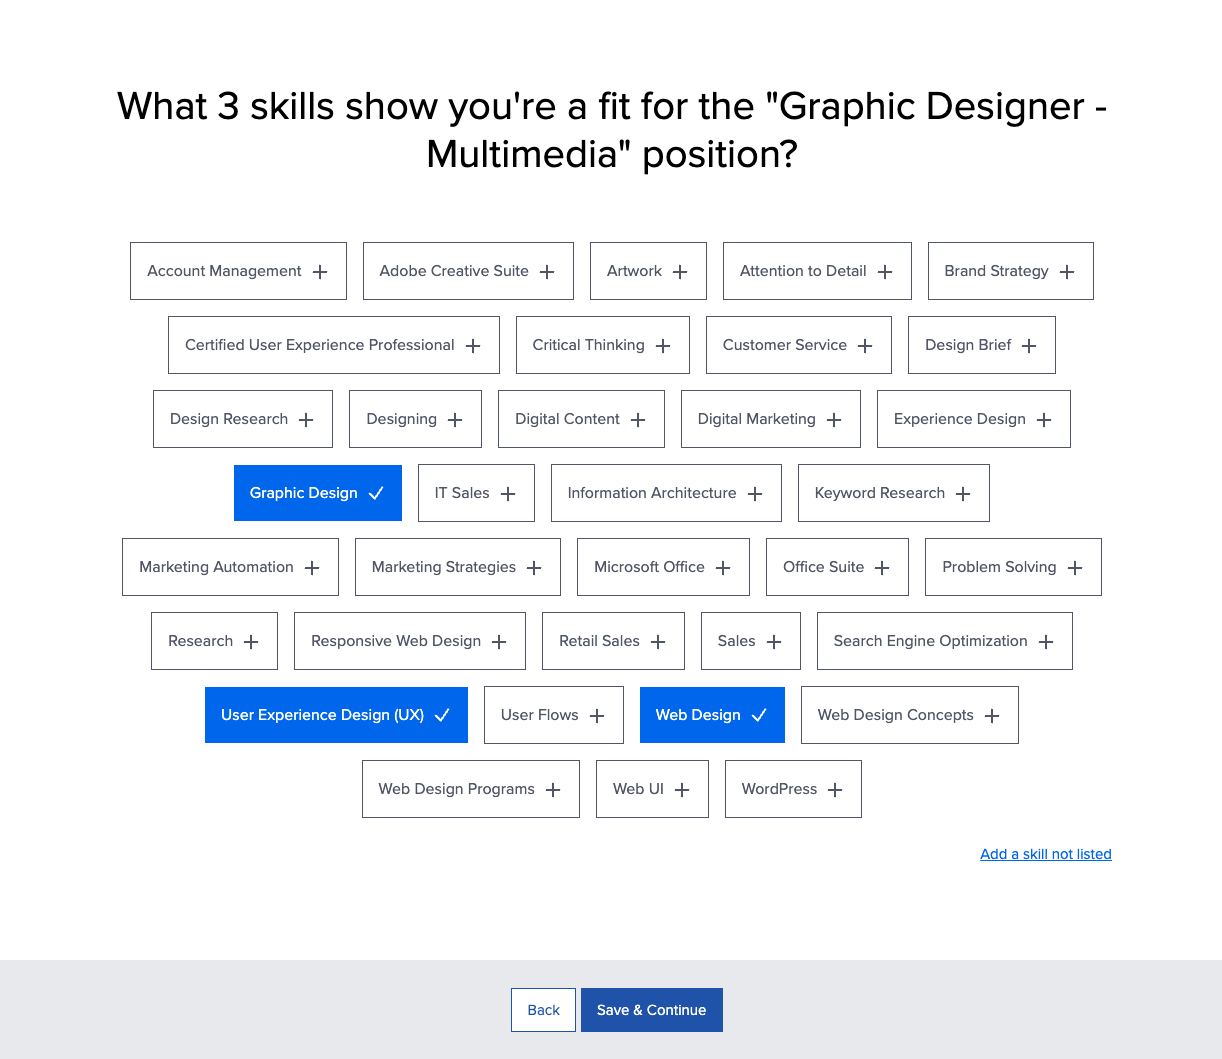
9. Skills: Select 3 skills that show you’re a fit for the position you’re applying to.
Choose the Add a skill not listed link if you’d like to enter a skill not shown. Once you’ve added a skill in the Add Skills input, hit Return/Enter on your keyboard.
Select Save & Continue.
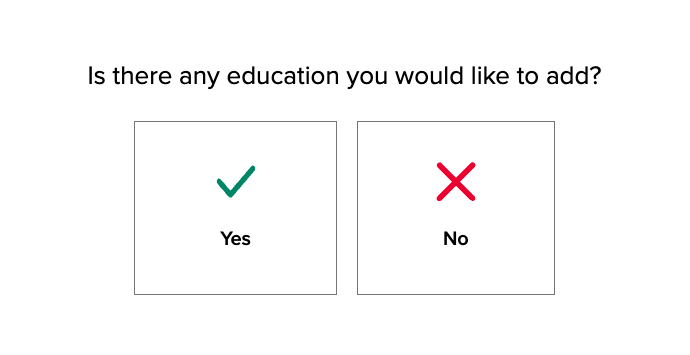
10a. Education: Choose Yes if you’d like to add education to your cover letter (step 10b), or No if you’d like to skip this step (step 11a).
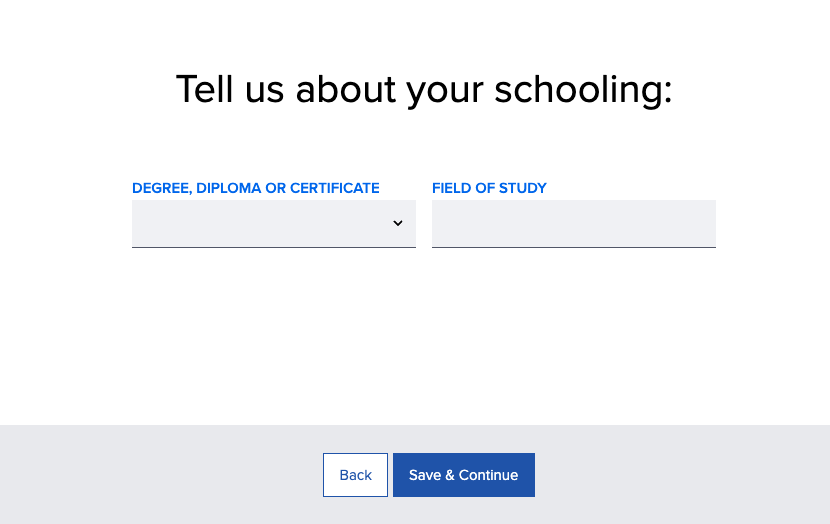
10b. Education: Select the type of degree, diploma or certificate you’ve earned, and enter the field of study. Select Save & Continue.
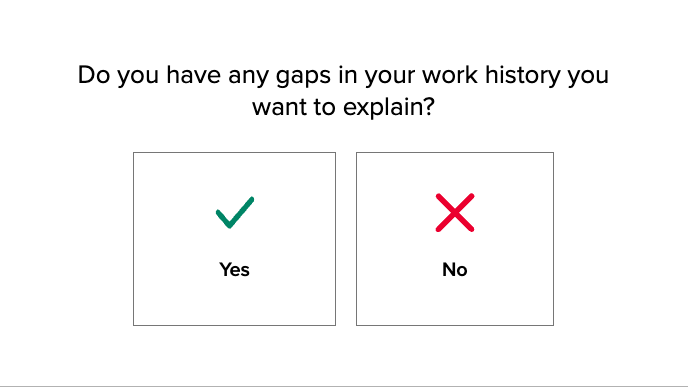
11a. Work Gaps: Choose Yes if you have any work gaps you’d like to explain in your cover letter, or No if you’d like to skip this step.
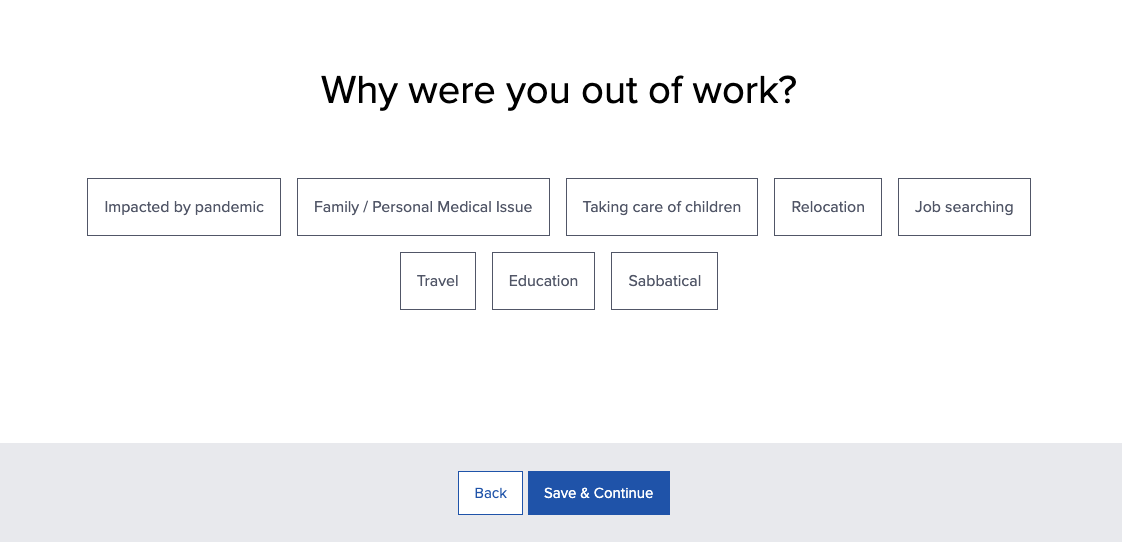
11b. Work Gaps: Choose the reason you were out of work and select Save & Continue.
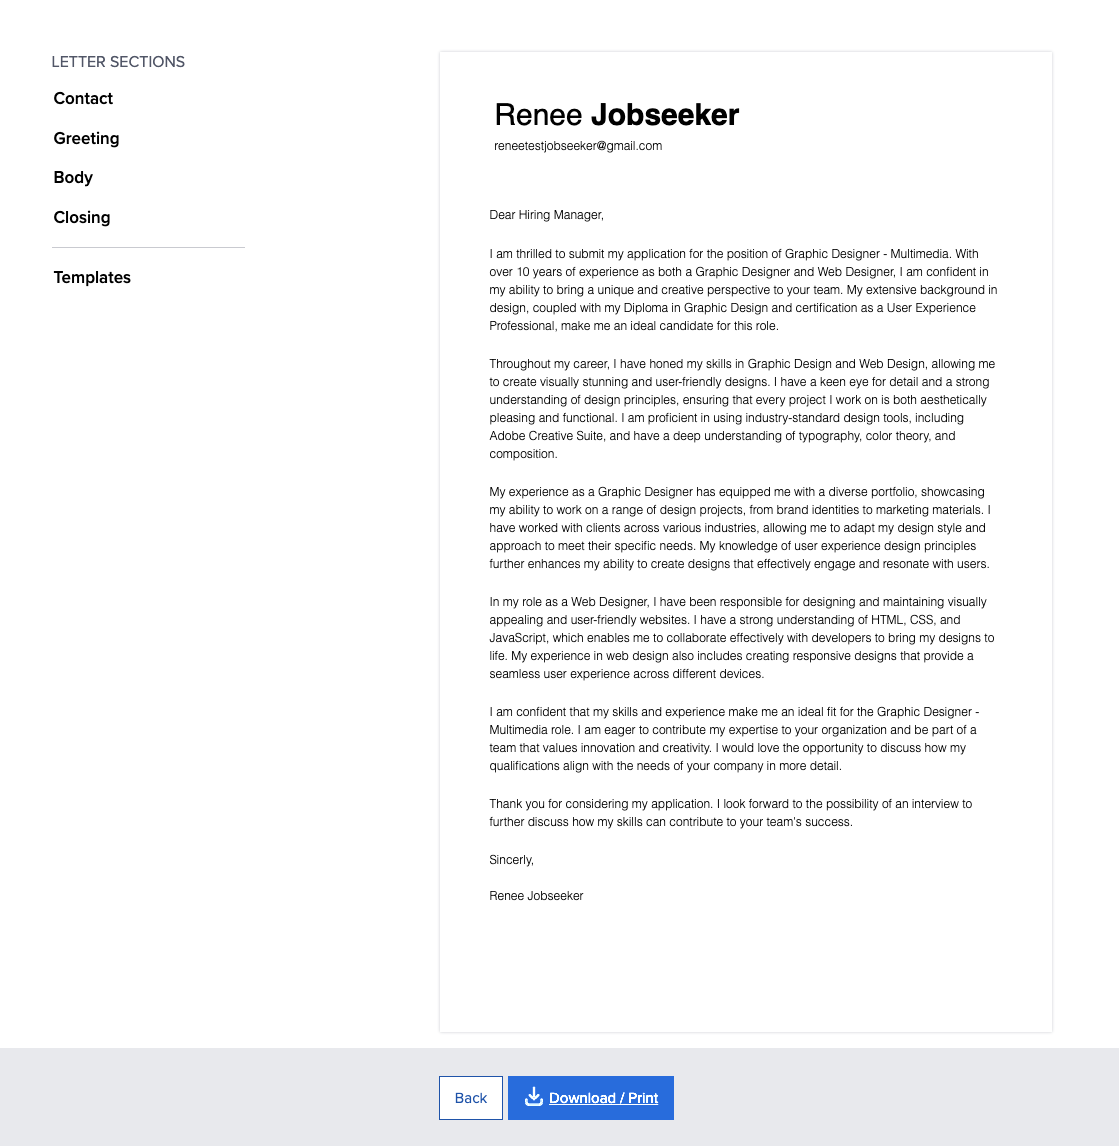
12. Cover Letter Preview: From here you can:
- Edit the content of your resume by selecting any of the Letter Sections.
- Change the Template of your cover letter.
- Download / Print your cover letter.
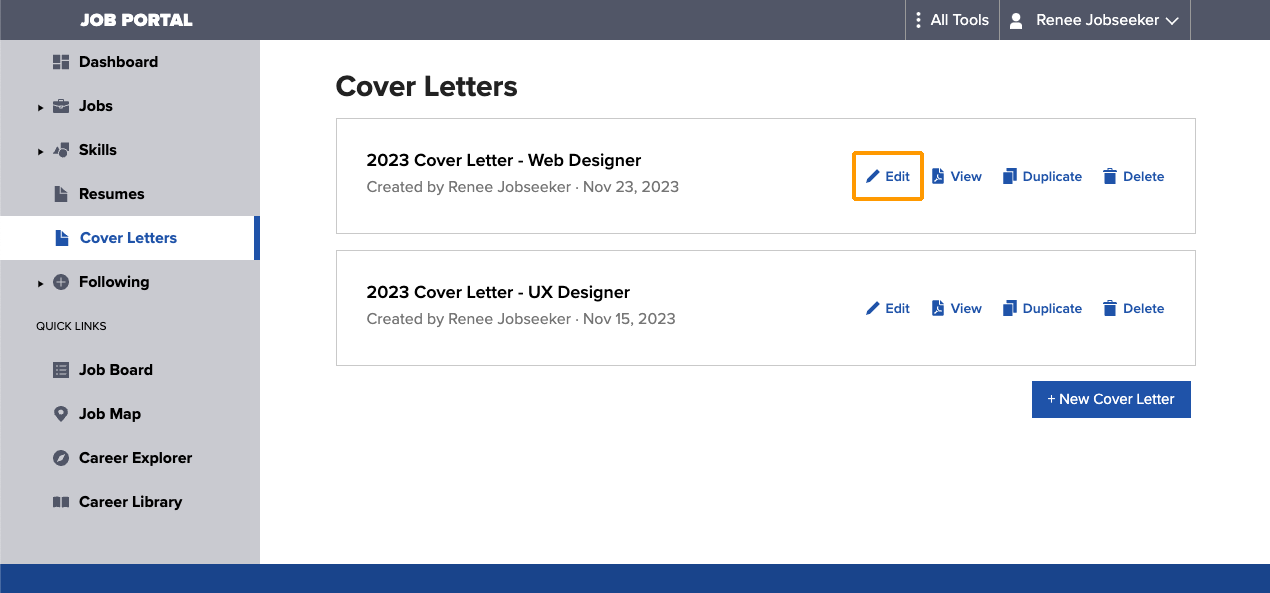
Edit a cover letter
- To edit a cover letter you’ve already created, navigate to Cover Letters in the left-hand portal menu, then select Edit.
This will take you through the series of questions where you can update any of your answers or, select Save & Continue until you reach the preview screen to make further changes to the content or template.
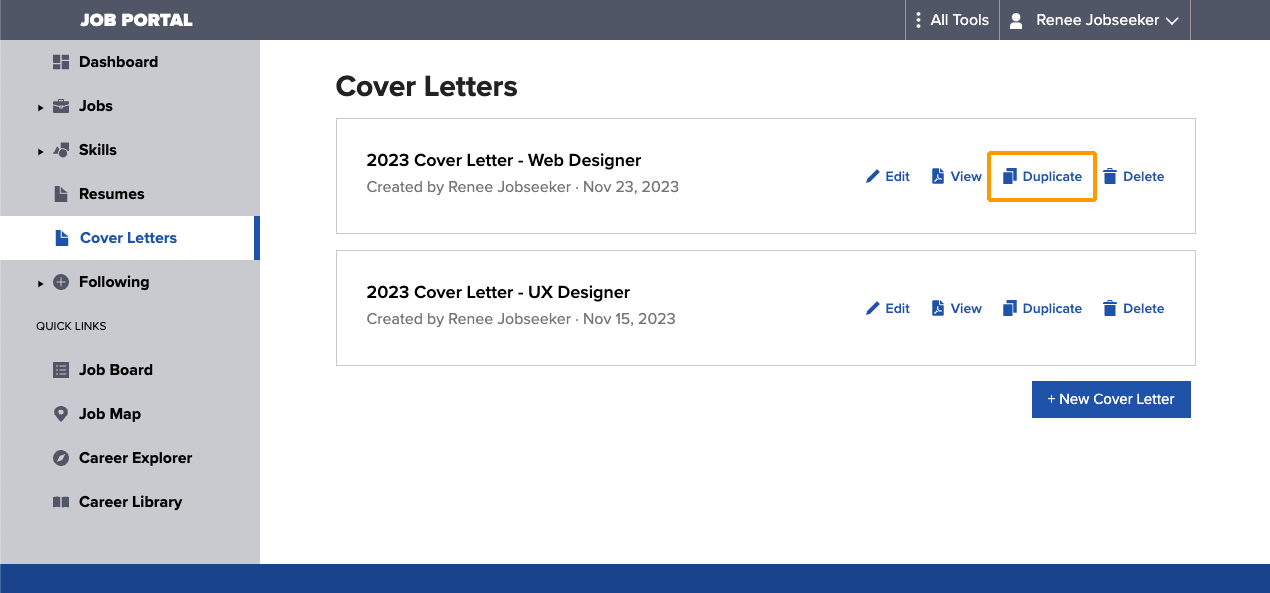
Duplicate a cover letter
- To duplicate a cover letter you’ve already created, navigate to Cover Letters in the left-hand portal menu, then select Duplicate.
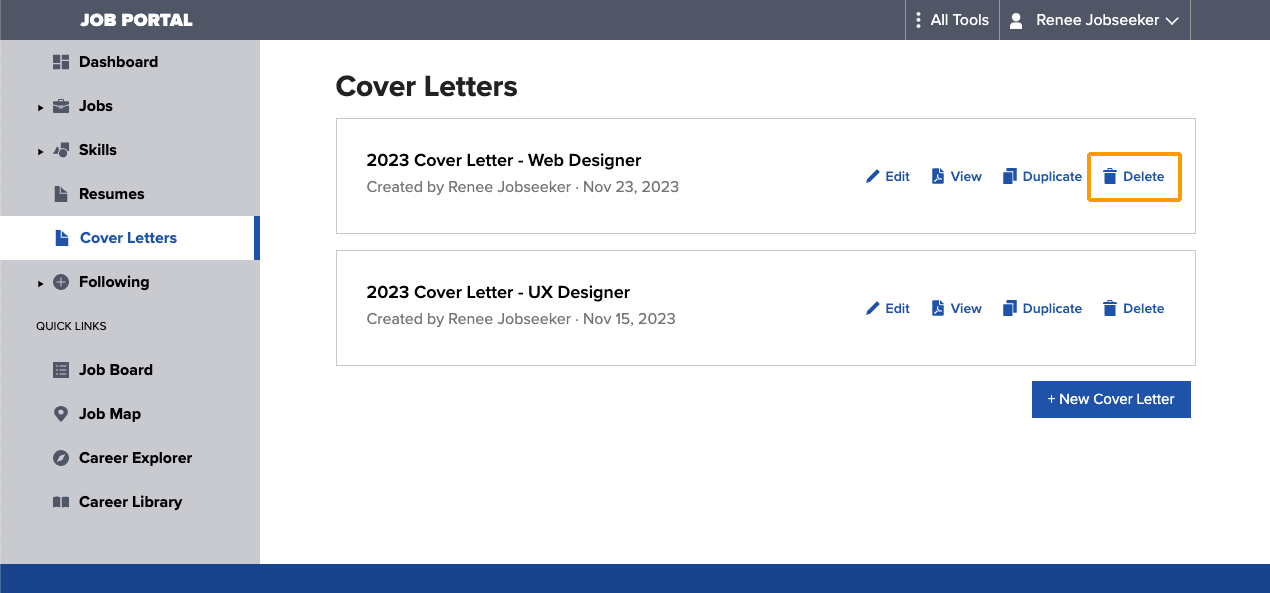
Delete a cover letter
- To delete a cover letter, navigate to Cover Letters in the left-hand portal menu, then select Delete.
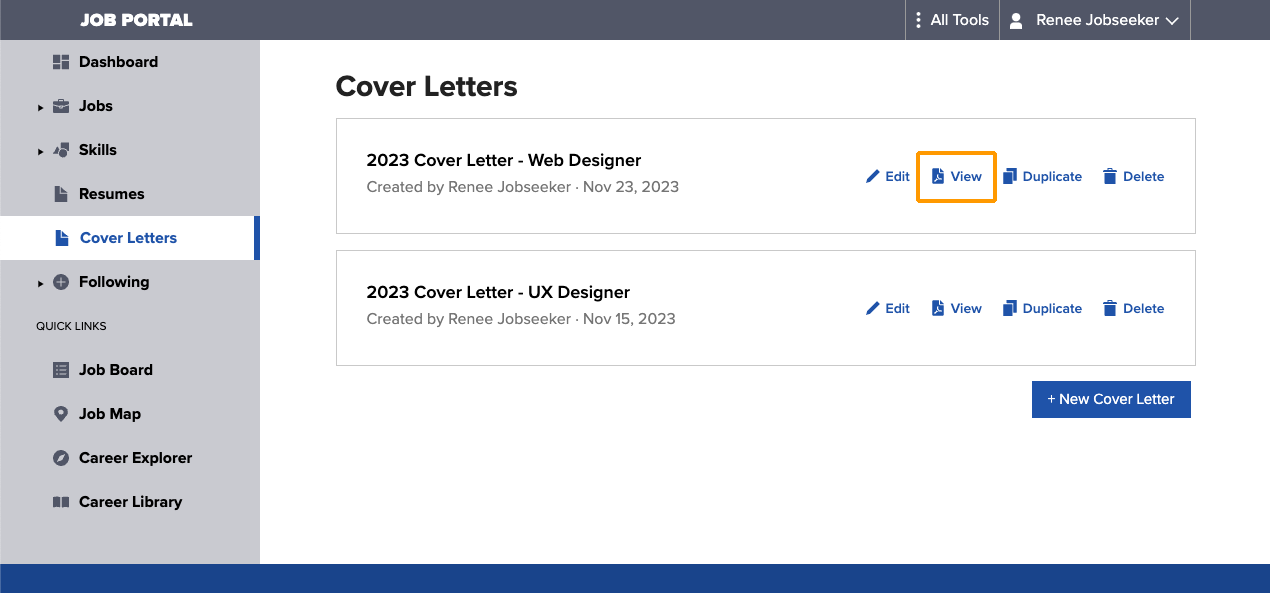
View a cover letter
- To view a cover letter you’ve already created, navigate to Cover Letters in the left-hand portal menu, then select View.
This will allow you to view, download, or print your cover letter.