Who can use this feature?
Create a new resume
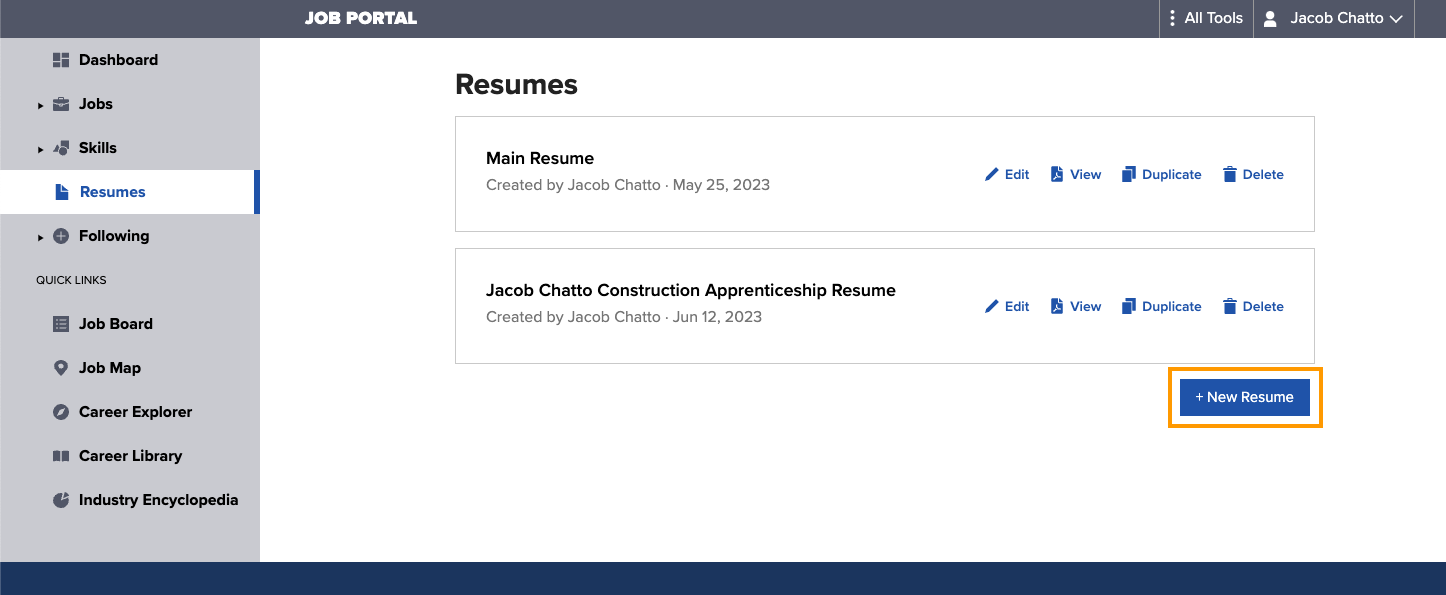
1. Navigate to Resumes in the left-hand portal menu, then select +New Resume.
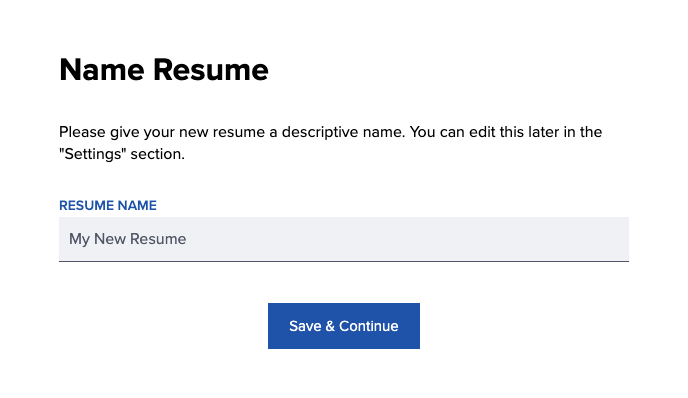
2. Name Resume: Provide a name for the resume and select Save & Continue.
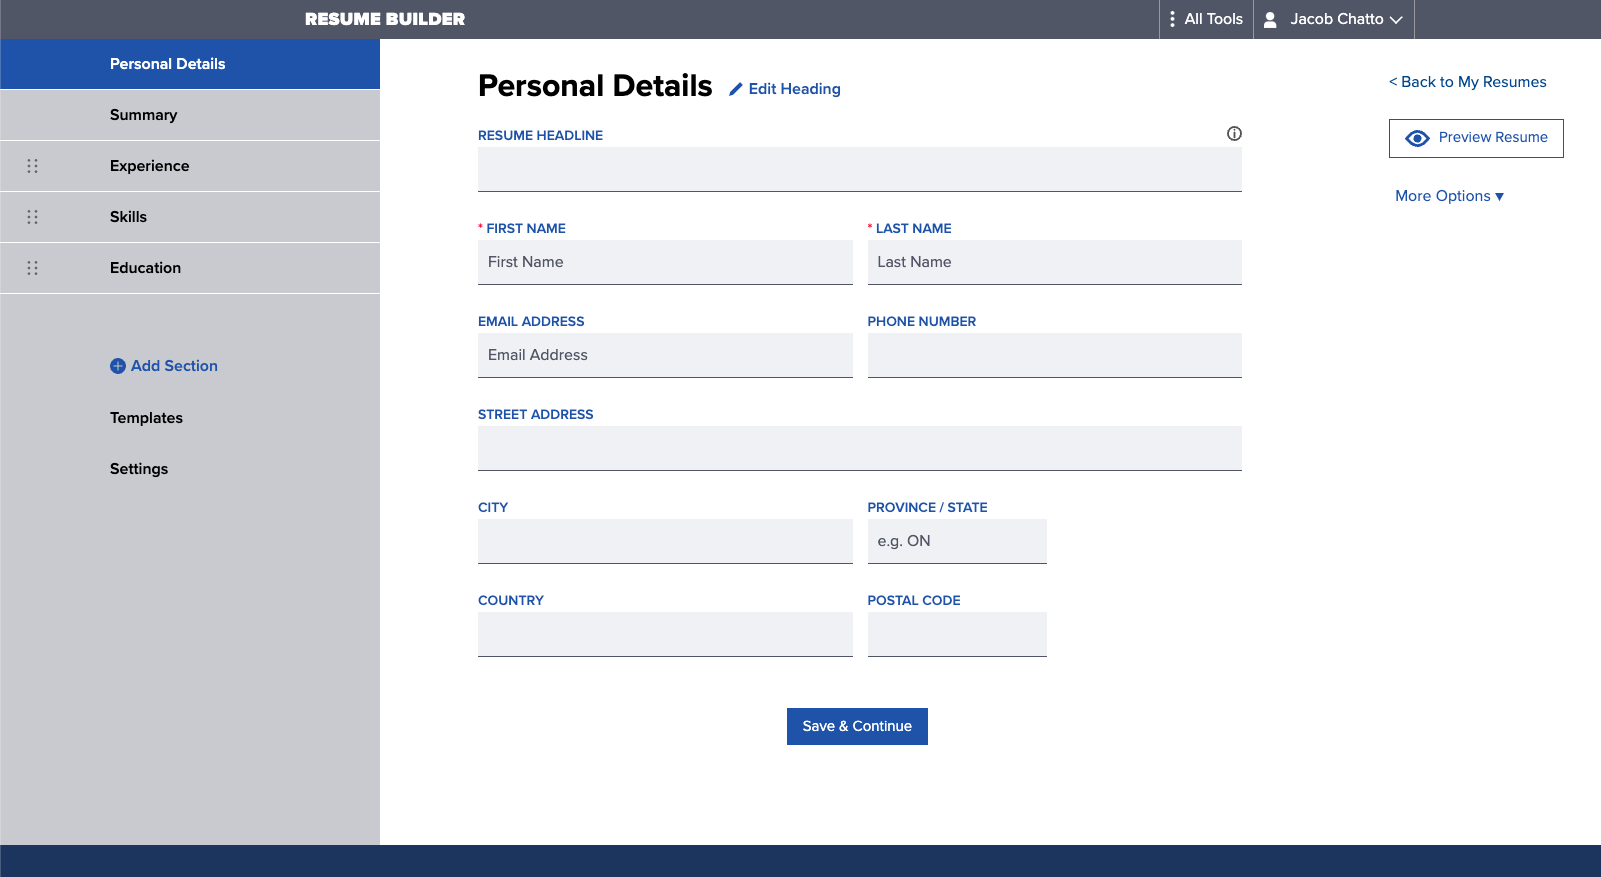
3. Personal Details: Enter your personal details and optionally, you can add a resume headline here too. This can be a brief sentence that summarizes your experience and professional background. A good structure to use is “Job Title + Work Experience + Skills or Achievement”. For example: Dynamic Barista with 4+ years of experience in customer service.
Once you’ve added all of the desired information, select Save & Continue.
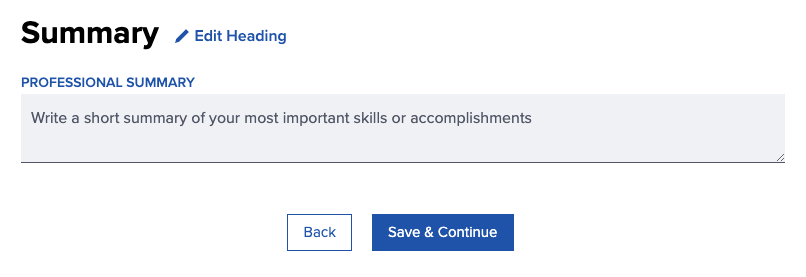
4. Summary: The Summary is an optional resume component. If desired, enter a short summary of your most important skills or accomplishments. Select Save & Continue to proceed.
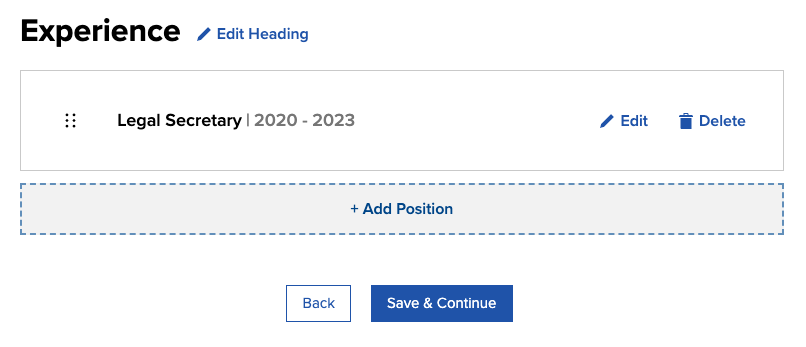
5a. Experience: To add experience details, select +Add Position then enter the details of your most recent job.
Once you’ve added all of the desired information, select Save & Continue.


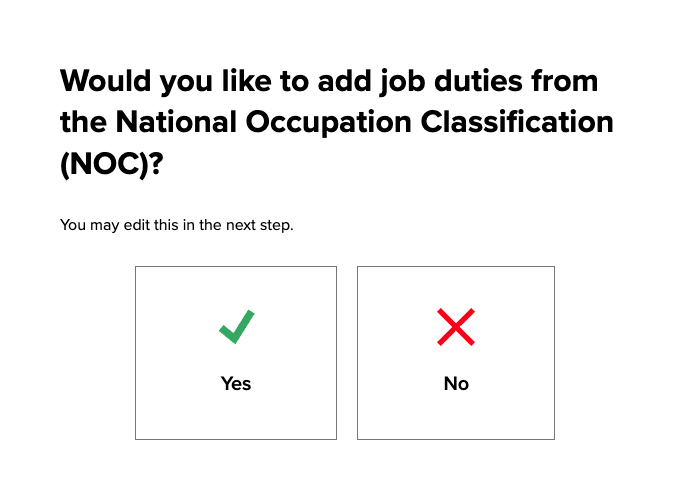
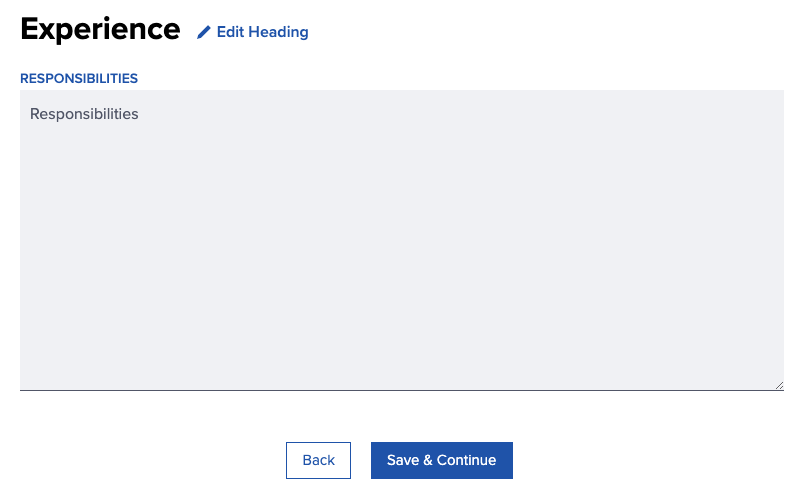
5b. Next you can add responsibilities for the position.
If the job title can be matched with an occupation from the National Occupation Classification (NOC), you have the option of automatically adding the job duties. If the job title can’t be matched with a NOC, or you wish to decline this option, you can add responsibilities for the position manually.
Select Save & Continue to proceed.
5c. You can then repeat steps 5a & 5b to add additional job experiences.
Once you’ve added all of the desired information, select Save & Continue.

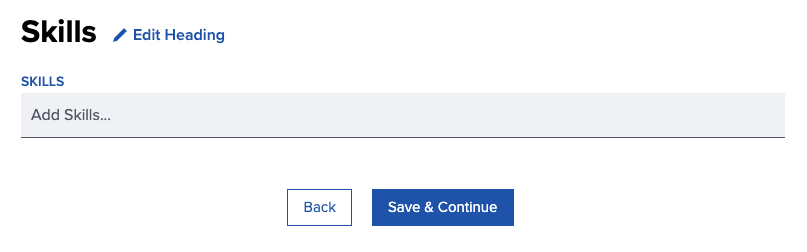
6. Skills: If you have added skills to your profile, you can add these skills to your resume. If you accept, you can choose which of those skills you’d like to include.
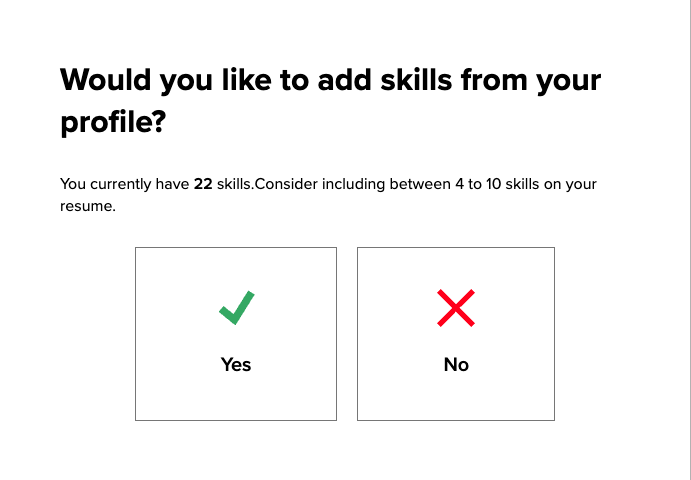
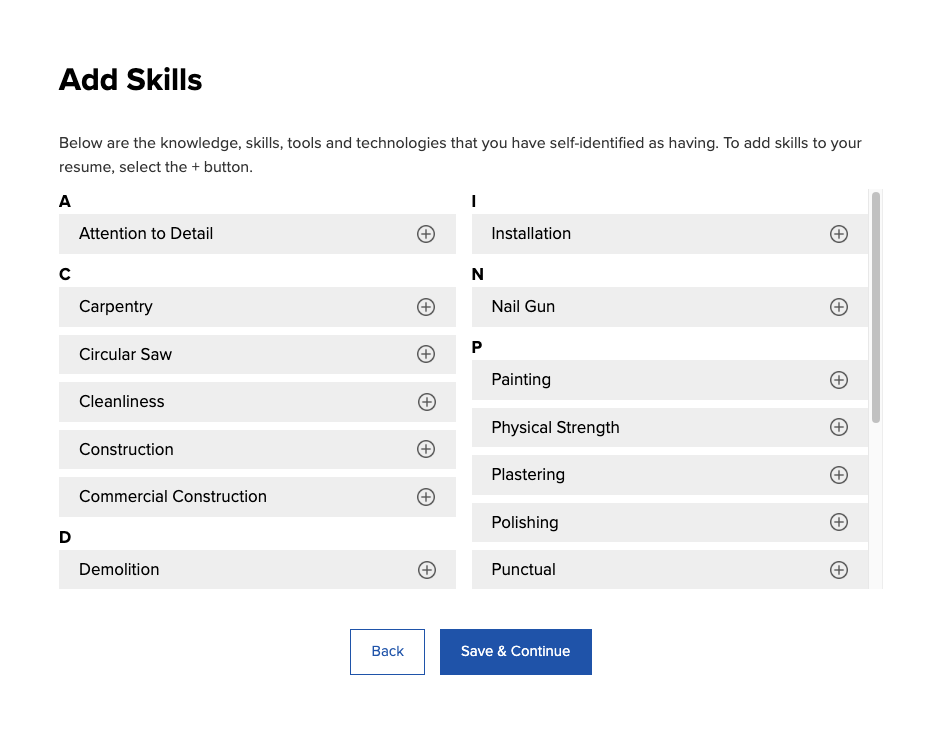
If you decline the option, or you don’t have skills in your profile, you can add skills manually.
Once you’ve added all of the desired information, select Save & Continue.
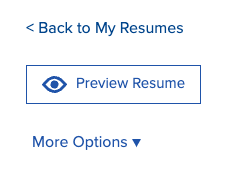
- Back to My Resumes: Returns you to the resume home screen.
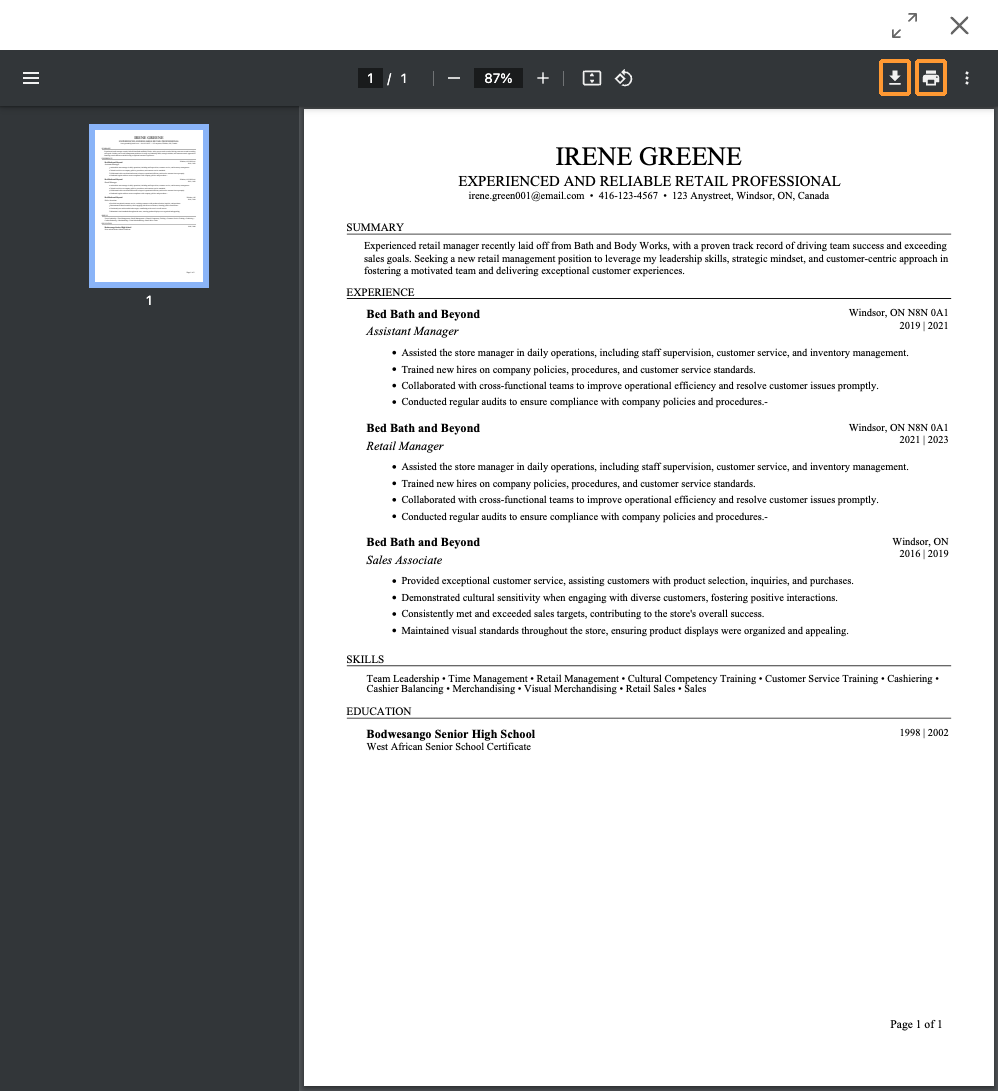
- Preview Resume: Provides a preview of the resume with options to download or print.
- More Options
- Duplicate Section: Copies the current section including any content that’s been entered.
- Delete Section: Removes the current section. This operation cannot be undone.
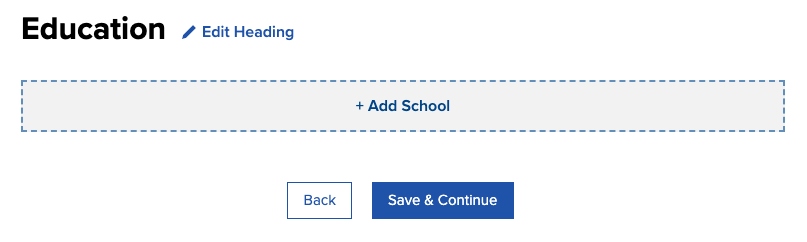
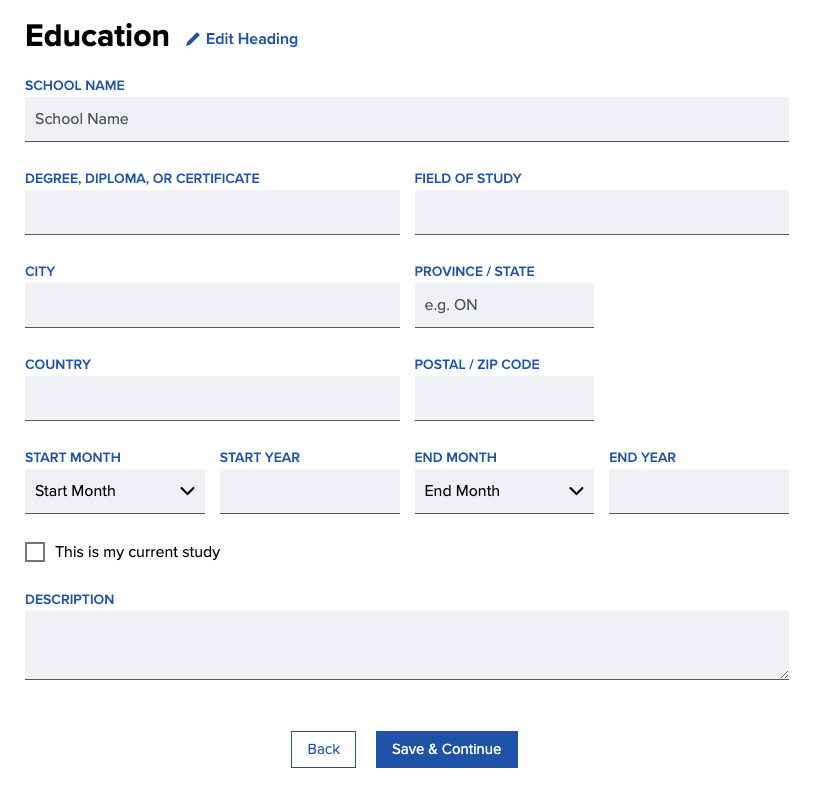
7a. Education: To add education details, select +Add School then enter the details of your most recent education.
Once you’ve added all of the desired information, select Save & Continue.
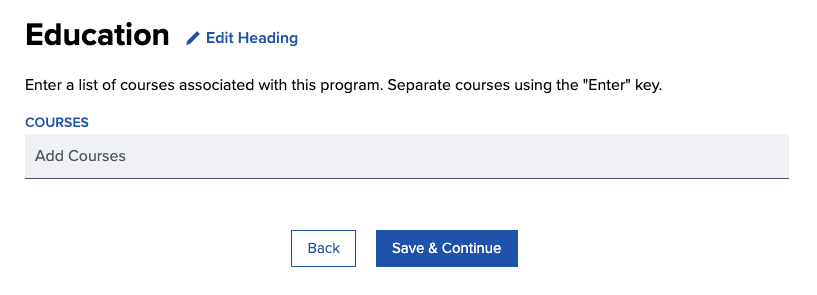
7b. Next you can add a list of completed courses associated with the program.
Select Save & Continue to proceed.
7c. You can then repeat steps 7a & 7b to add additional education.
Once you’ve added all of the desired information, select Save & Continue.
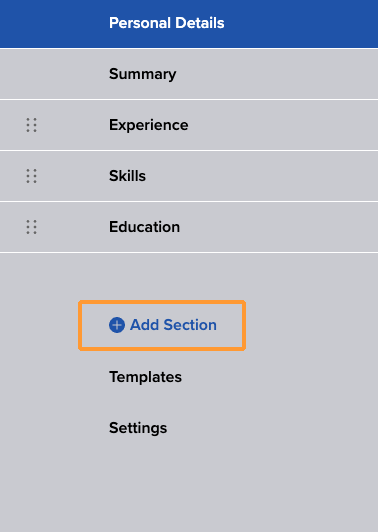
8a. Additional Sections (optional):
Select Add Section to include extra sections in the resume.

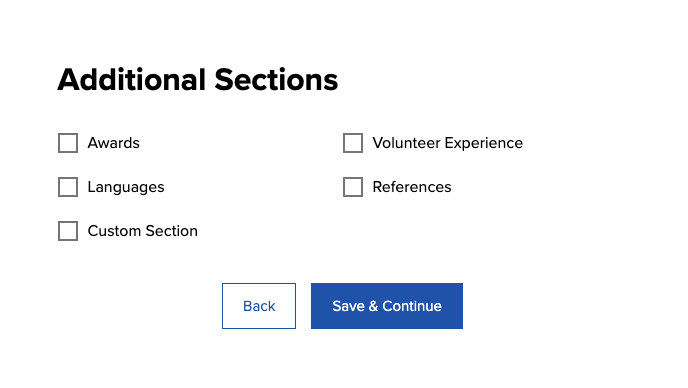
8b. Choose SectionType: Choose the type of section to add from the following options:
- Awards
- Languages
- References
- Volunteer Experience
- Custom Section
Complete the necessary fields based on the selected section type.

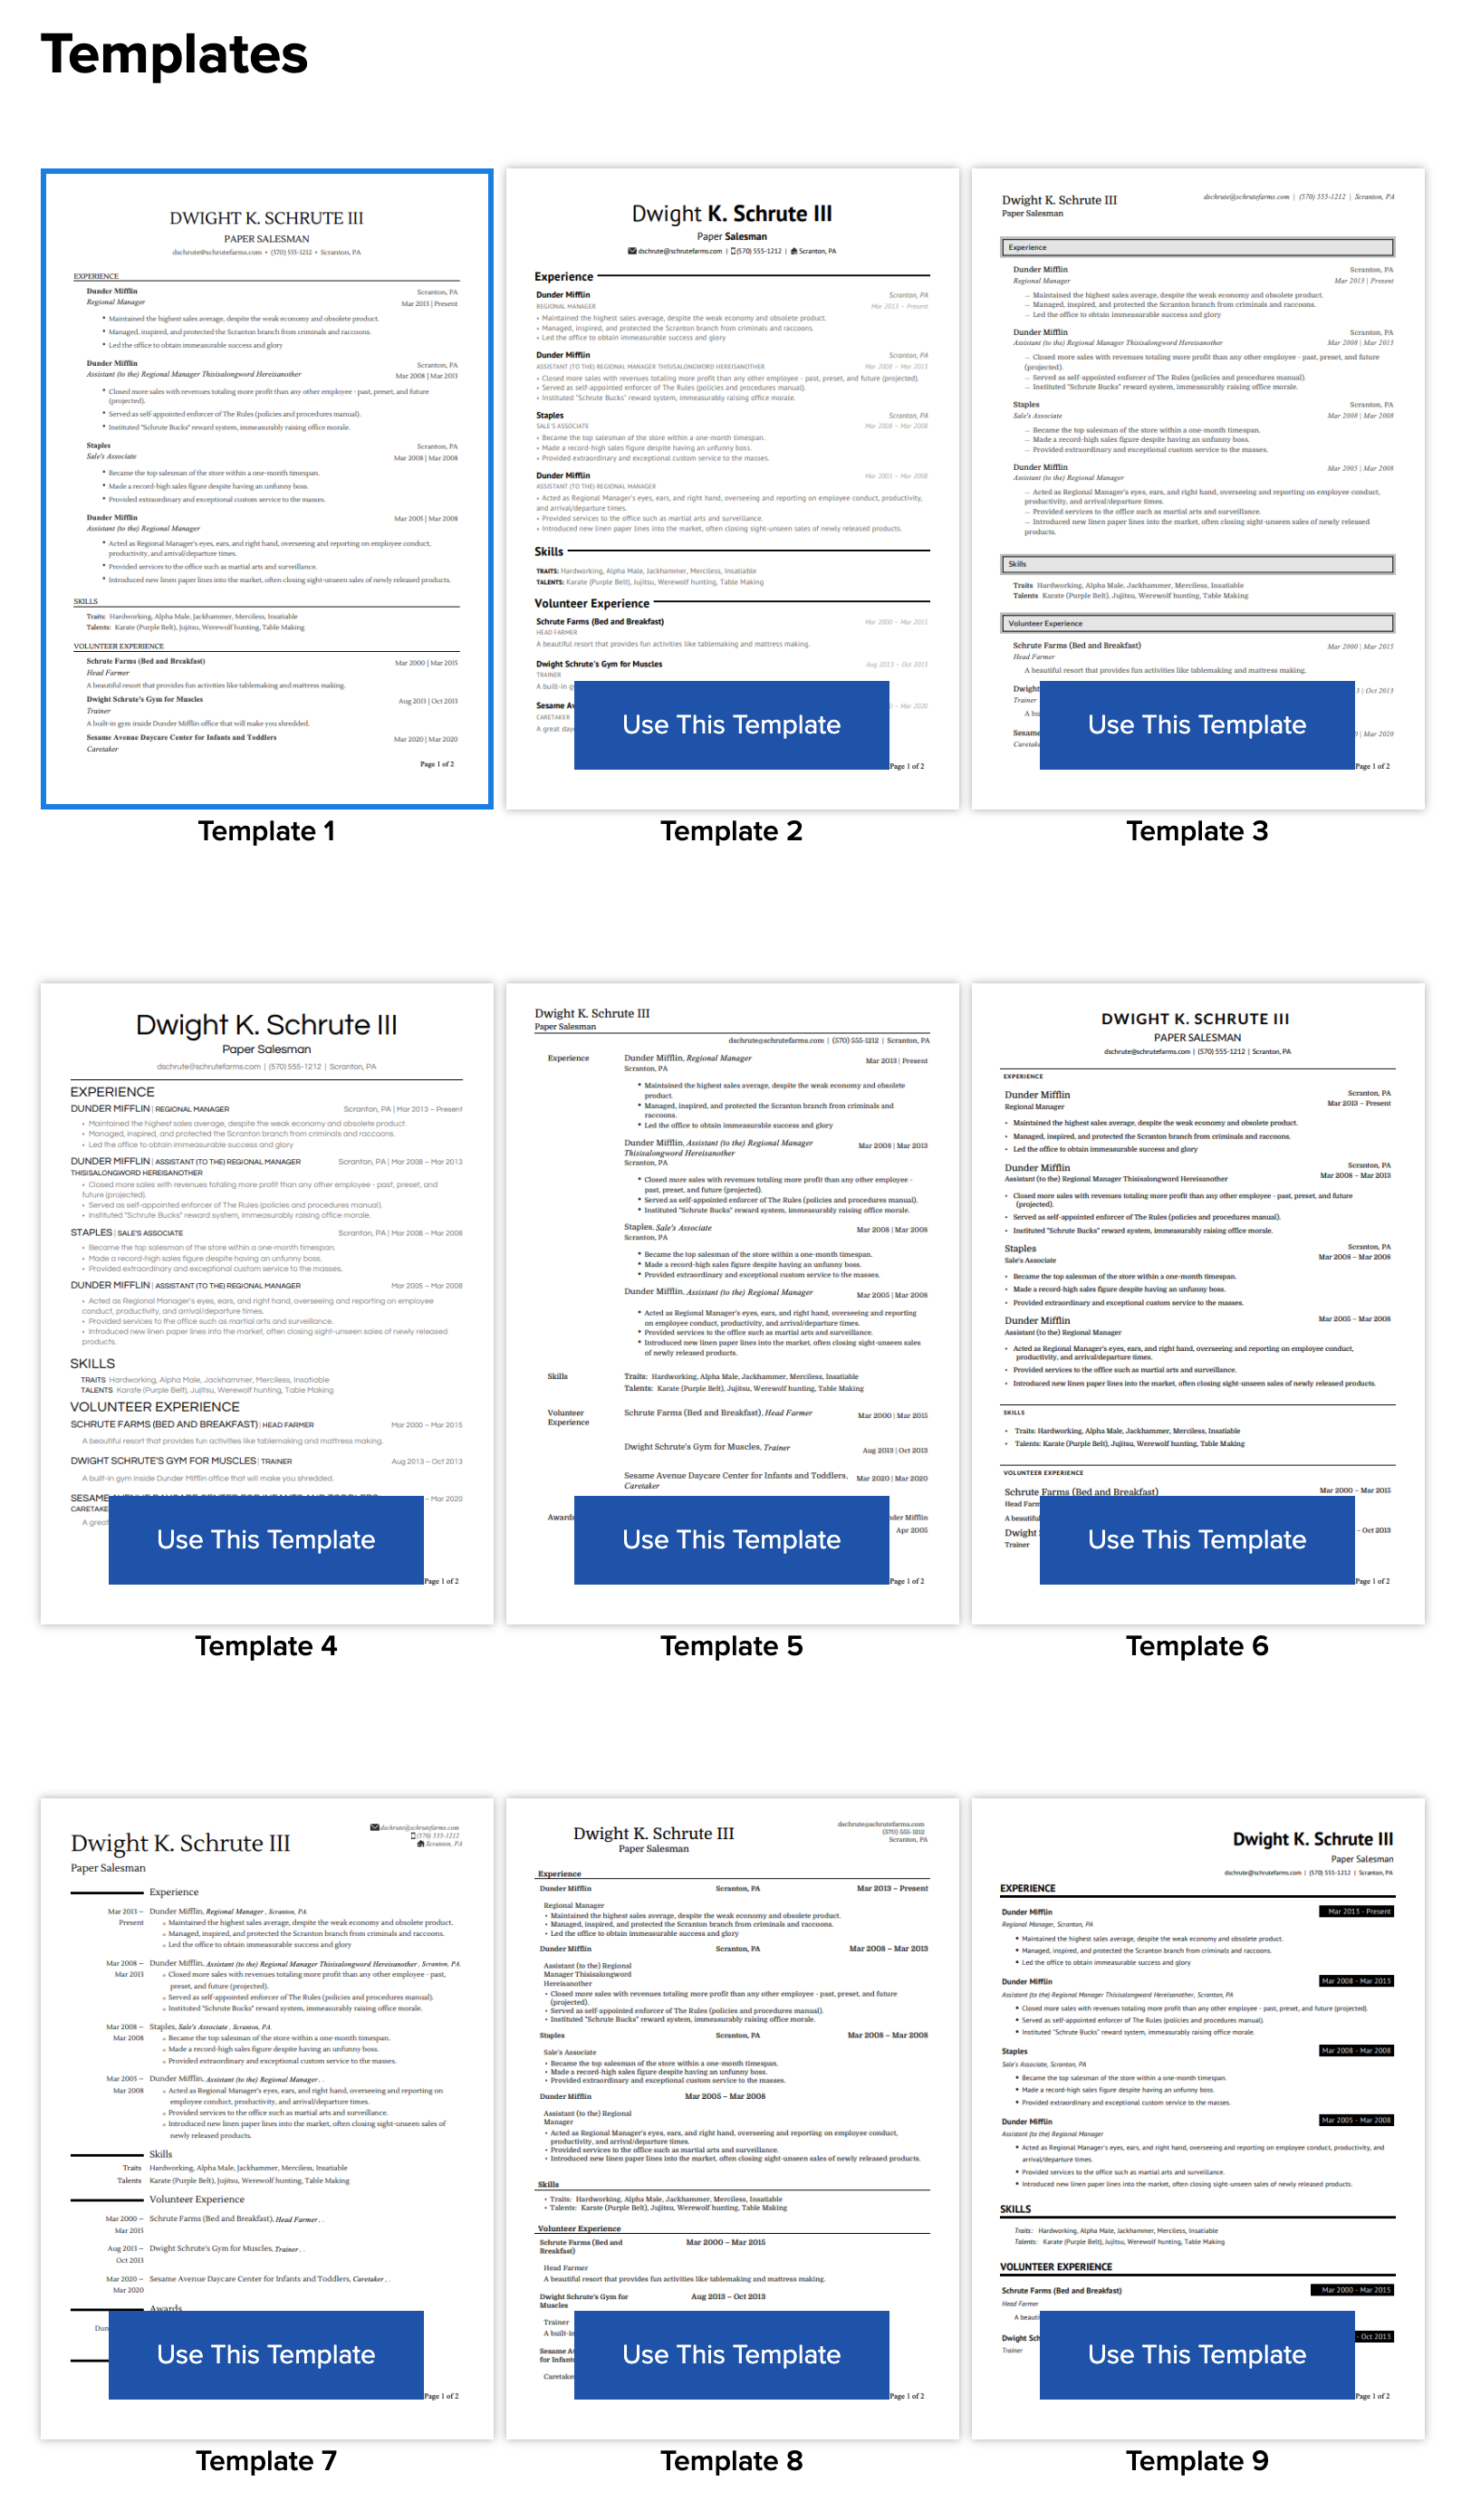
9. Templates: Choose one of nine different resume templates by selecting the desired Use This Template button.
Select Save & Continue to proceed.
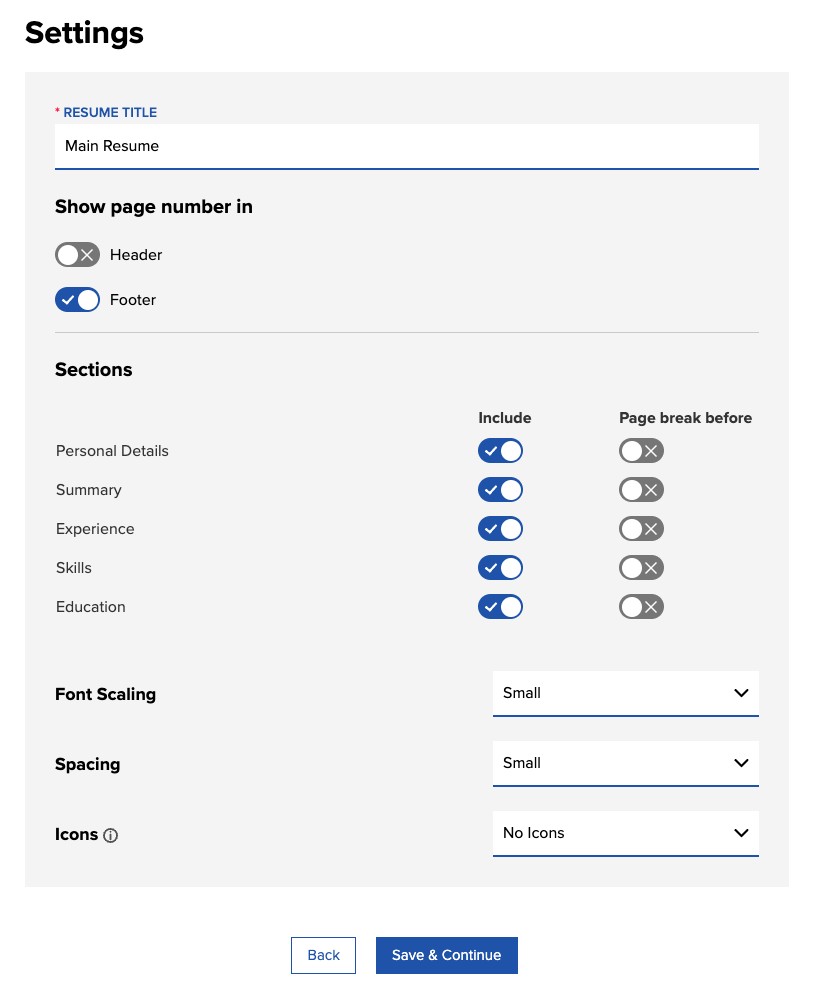
10. Settings: You have the option of adjusting any of the following settings:
- Resume Title: This is the name of your resume, it’s only visible to you.
- Show Page Number: You can choose to include a page number in the header, footer, or none at all.
- Sections: You can manage which resume sections you wish to include or exclude as well as forcing a page break where desired.
- Font Scaling: Choose between Small (default), Medium, Large, Larger, or Largest font sizes.
- Spacing: Controls the amount of space between sections. Choose from Small (default), Medium, or Large
- Icons: Template# 2 and #7 feature icons that appear beside your contact information. If you would like to include icons, you must select one of these templates. You can then choose between outline or solid icons.
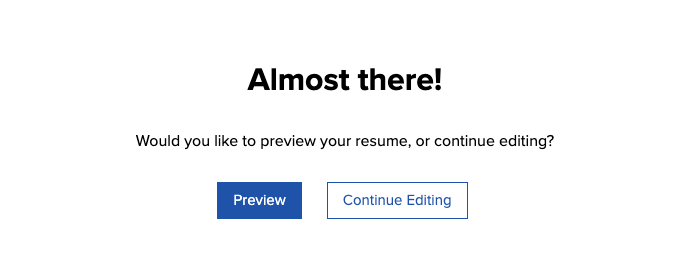
11. Preview: In the last step, you can choose to preview the resume, or continue making edits. To preview, download or print the resume, select Preview.
If you’re satisfied with the resume, you can choose either the download or print icons.
Add a new section
1. New sections can be added to your resume by selecting Add Section.
2. Choose one or more of the following options:
- Awards: Add award details including Award Name, Award Organization, Start Month, Year, and Summary.
- Languages: Add language details including Language, Speaking Skill Level, Reading Skill Level, and Writing Skill Level.
- References: Add “References available upon request” to your resume, or include specific reference contact details.
- Volunteer Experience: Add volunteer experiences including Position, Organization, Location Details, Start and End Dates, and Responsibilities.
- Custom Section: If none of these additional sections suite your needs, create your own!
After selecting the section(s) you wish to add, select Save & Continue.
3. Once you’ve added all of the desired information for your new sections, select Save & Continue to proceed with the resume creation.
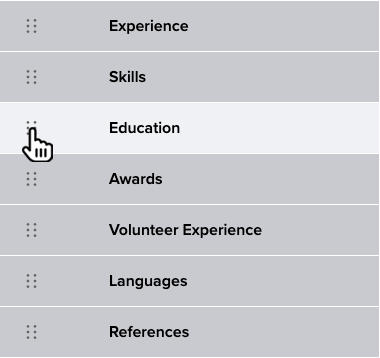
Reorder sections
Sections can be reordered by hovering over the section name in the resume builder navigation, clicking and dragging the section to the desired order.
Edit a resume
From the Resumes home screen, select Edit.

Duplicate a resume
From the Resumes home screen, select Duplicate.

Delete a resume
From the Resumes home screen, select Delete.

View a resume
From the Resumes home screen, select View.
