Job Tags are an excellent tool to help end users navigate the Jobs Board Tool and Jobs Map Tool. Examples include apprenticeship jobs and student jobs.
Job Tags can be accessed in the Admin Dashboard under Job Board > Job Tags.
The main Job Tags screen has two sections: Add New Job Tags and Existing Job Tags.
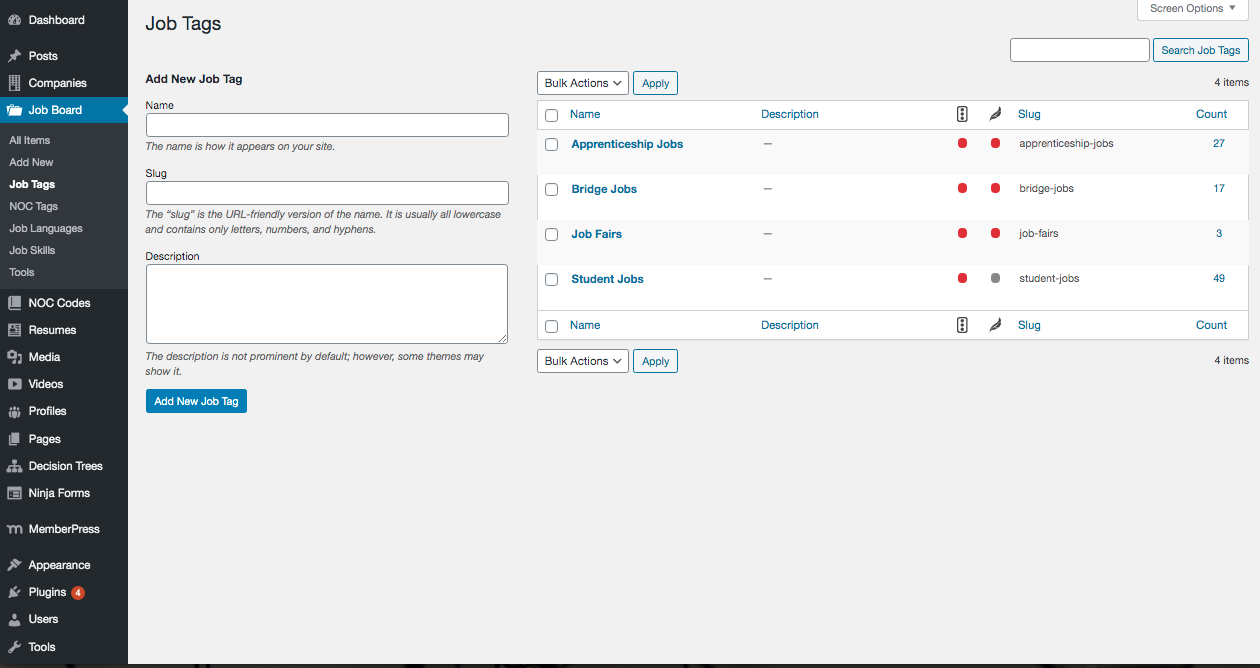
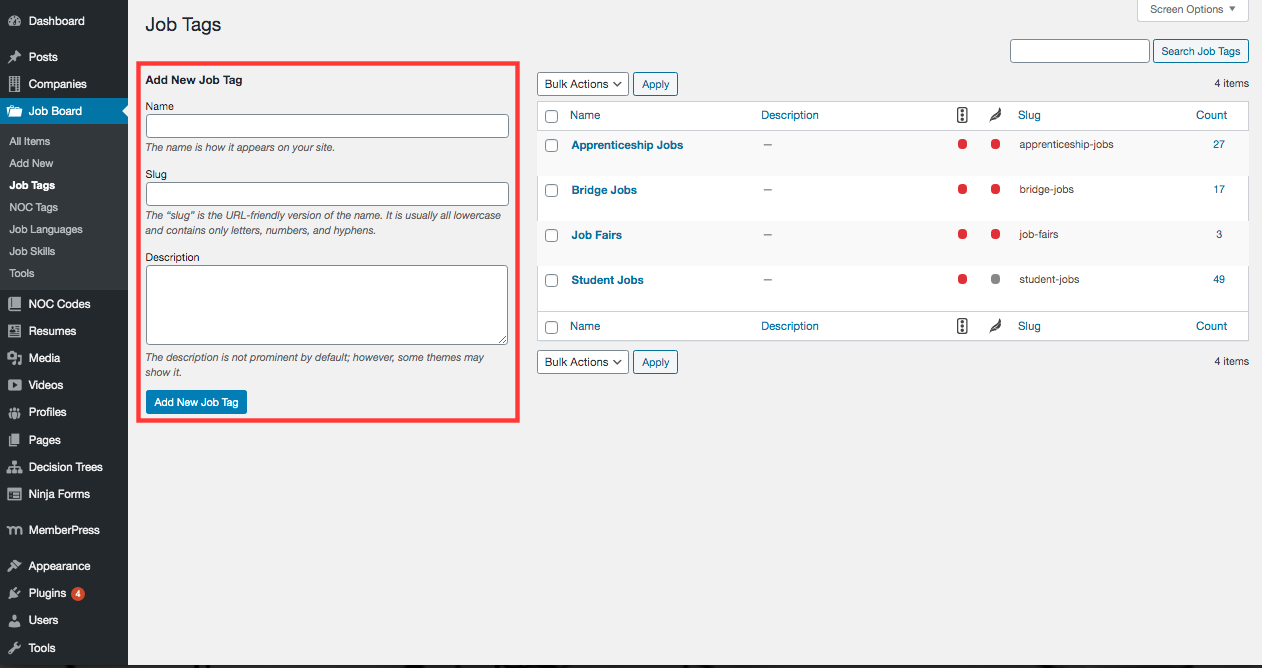
Add New Job Tag
1. To create a new Job Tag, complete the fields on the left of the screen and click Add New Job Tag.
NOTE: Once created, Auto-Tag Rules will need to be set. See Auto-Tag Rules below for instructions.
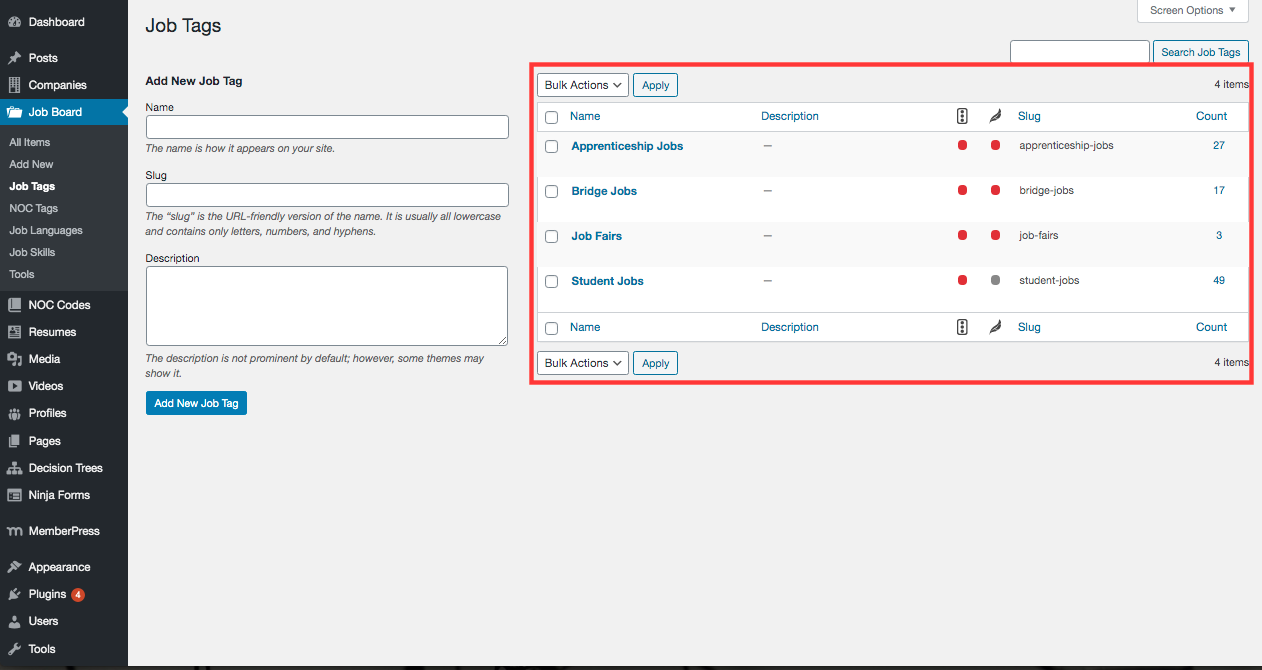
Edit Job Tags
1. Existing Job Tags are in a grid on the right side of the screen.
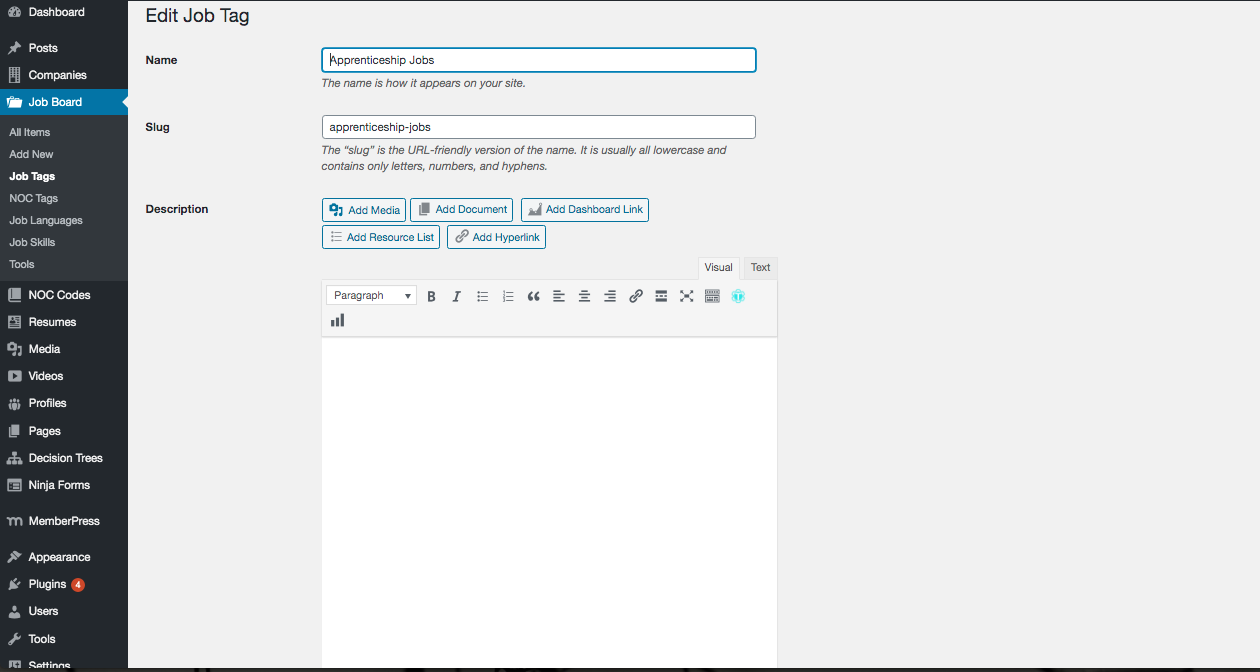
3. Click on the Job Tag name to edit information.
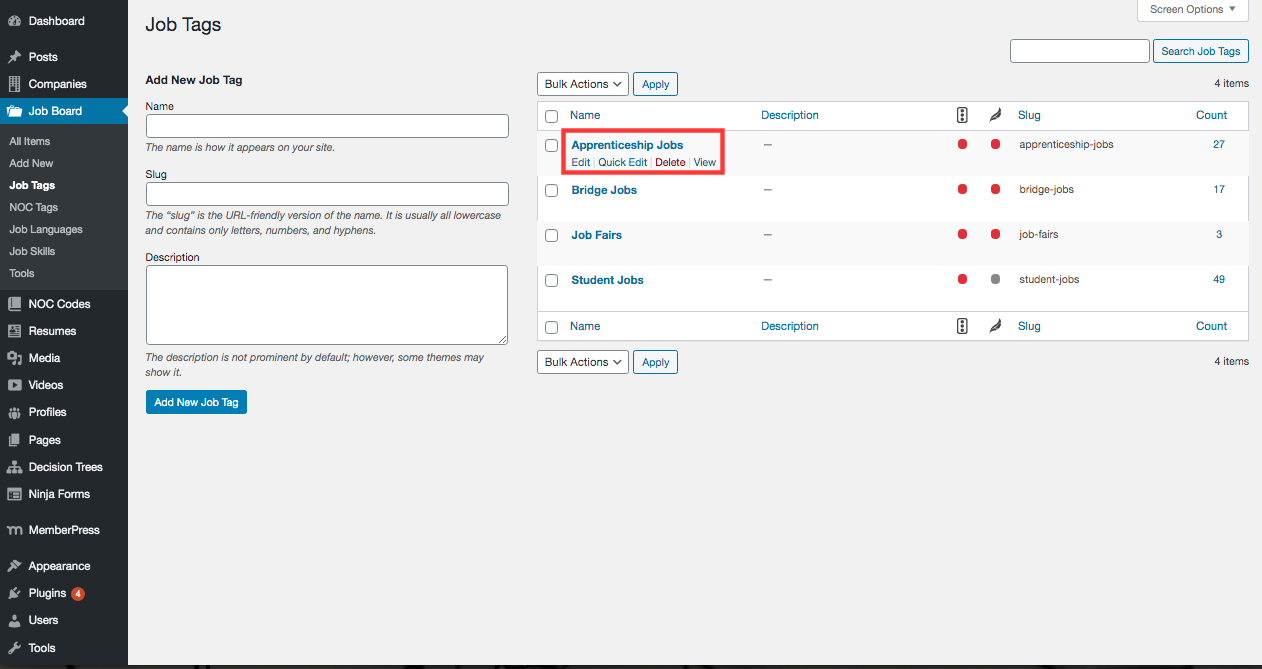
3. On the Job Tag screen, the name, slug, and description can be edited.
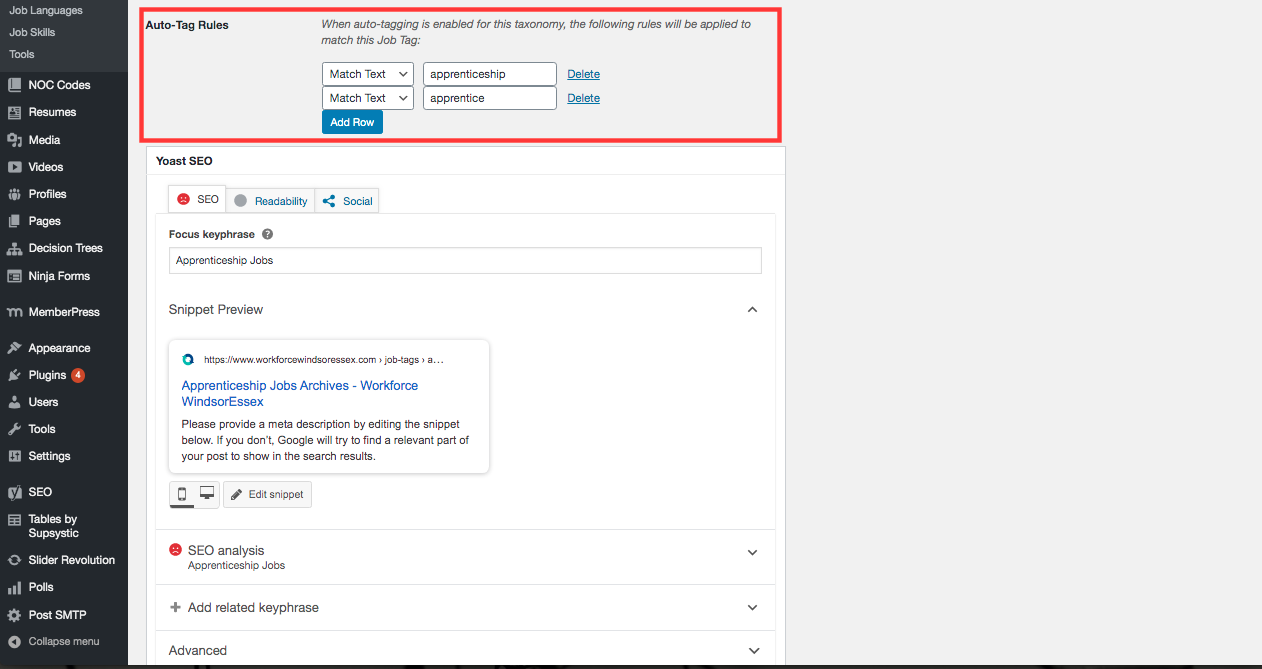
Auto-Tag Rules
Further down, Auto-Tag Rules can be set. Auto-Tag rules will define keywords in job postings that when matched, will tag the job posting with the associated Job Tag.
1. Add or edit existing rules and click Apply Rule.
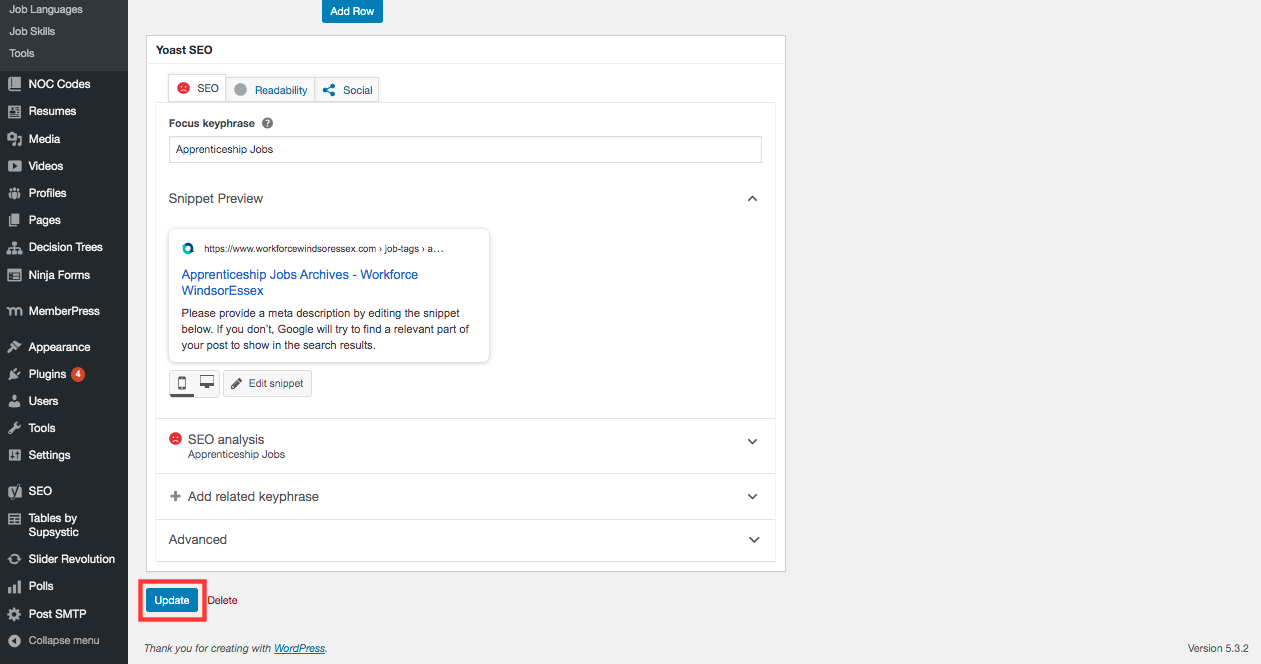
2. Click Update to apply changes and rules.
Keep in mind, job tags should be reviewed on a regular basis to ensure they are applied to the correct postings. In the example of Apprenticeship Jobs, any post with the word “Apprentice” will be tagged. For example, if a Supervisor role states, “Will manage an apprentice” it will be tagged with Apprenticeship Job.
To see the job postings associated with each Job Tag, click on the number in the Count column.
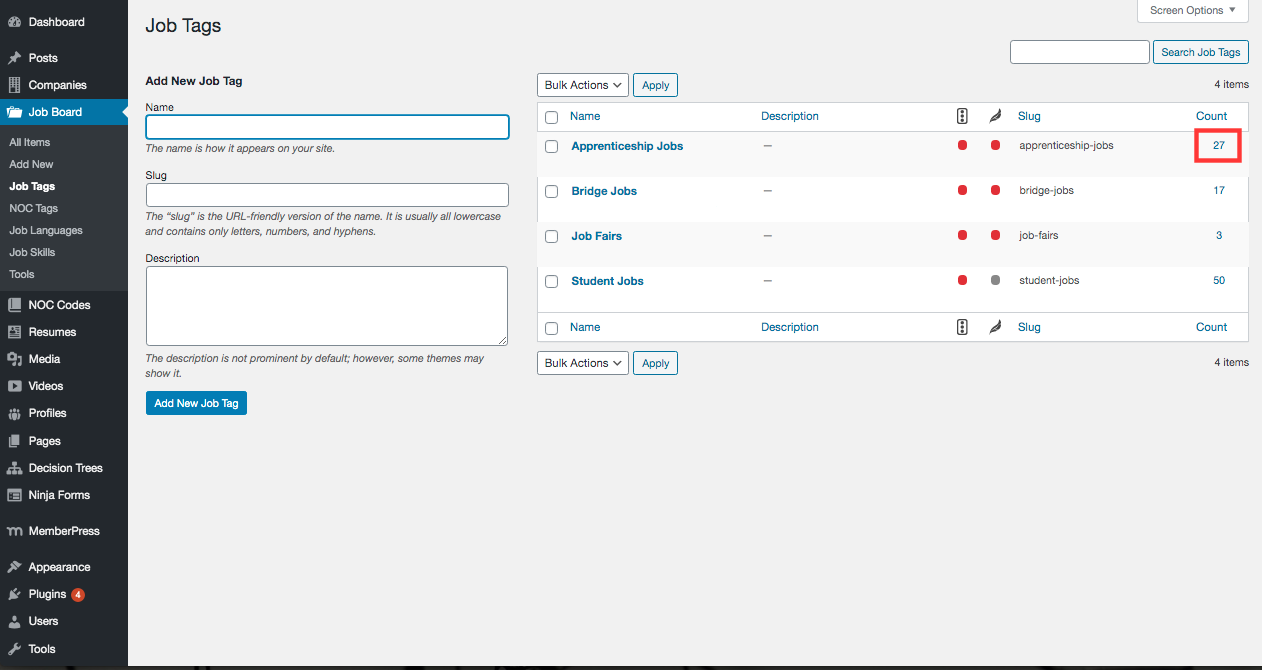
The Job Posting grid will show all results. To edit job tags on an individual posting, see the Individual Job Posting section of the Job Posting Overview page.
