Export Data
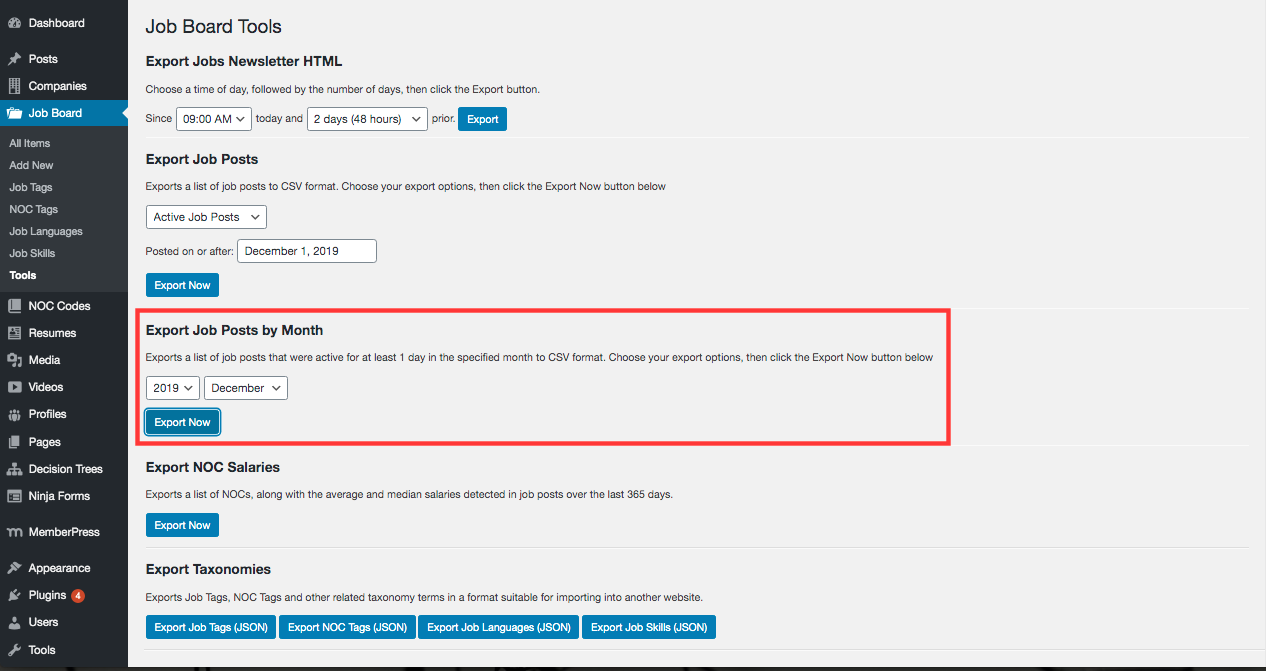
The Job Demand Report uses the data from the Export Job Posts by Month file found in the Tools section of the Job Board.
1. In the Export Job Posts by Month section, select the year and month from the dropdown menus. Click Export Now.
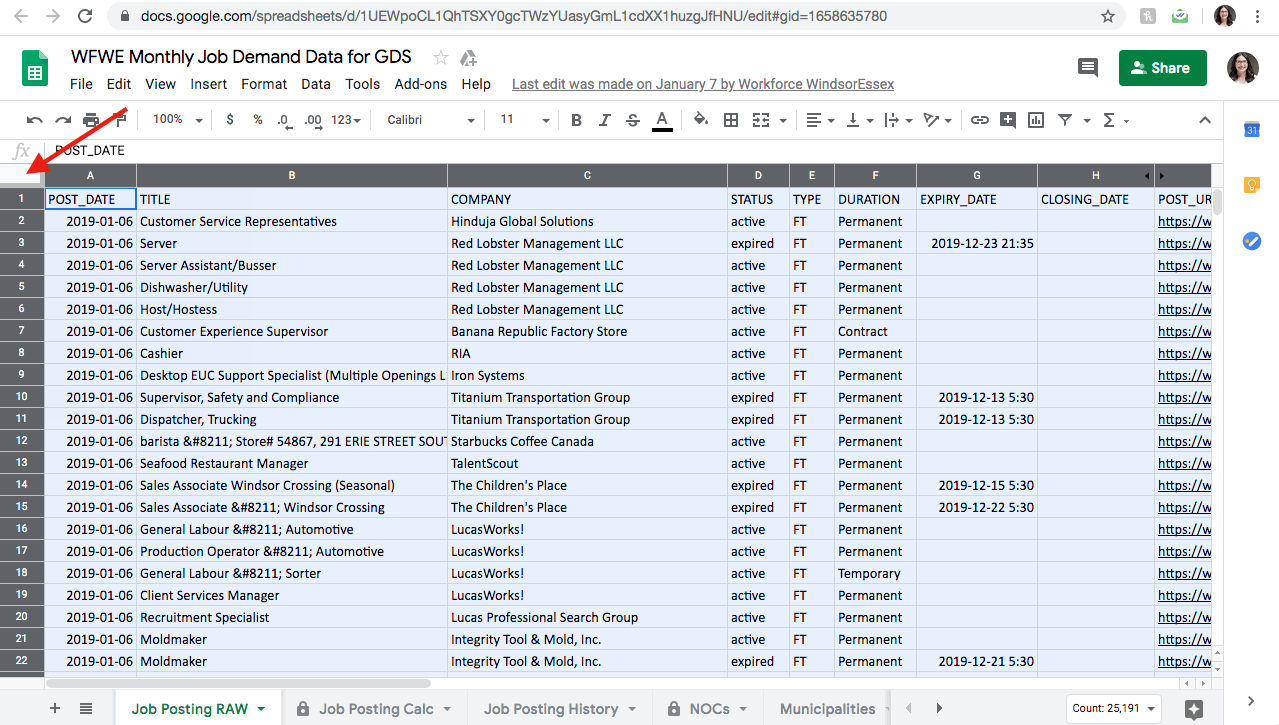
2. A CSV file will be exported with all of the data. It is important to calculate the total number of postings. This can be done by looking at the total number of rows and subtracting 1 to account for the headers. This is the Number of Postings that will be used later in the Job Posting History tab in Google Sheets.
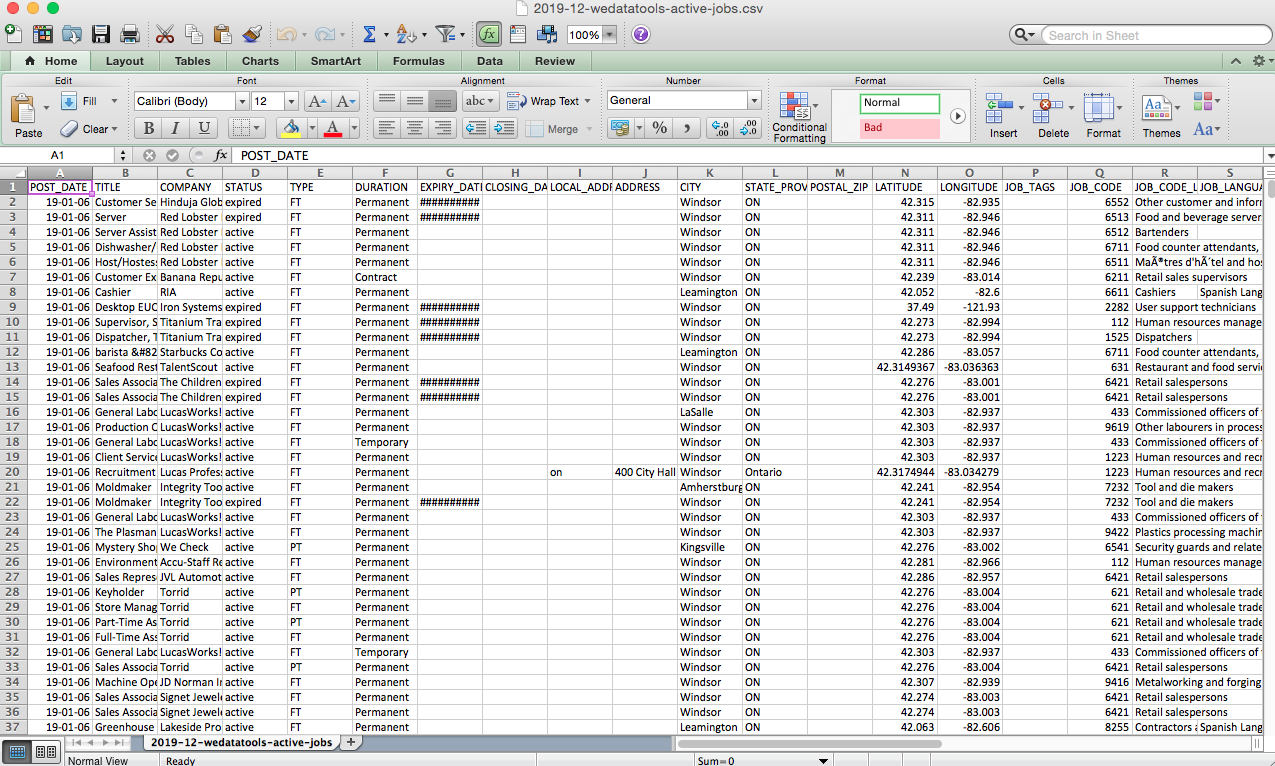
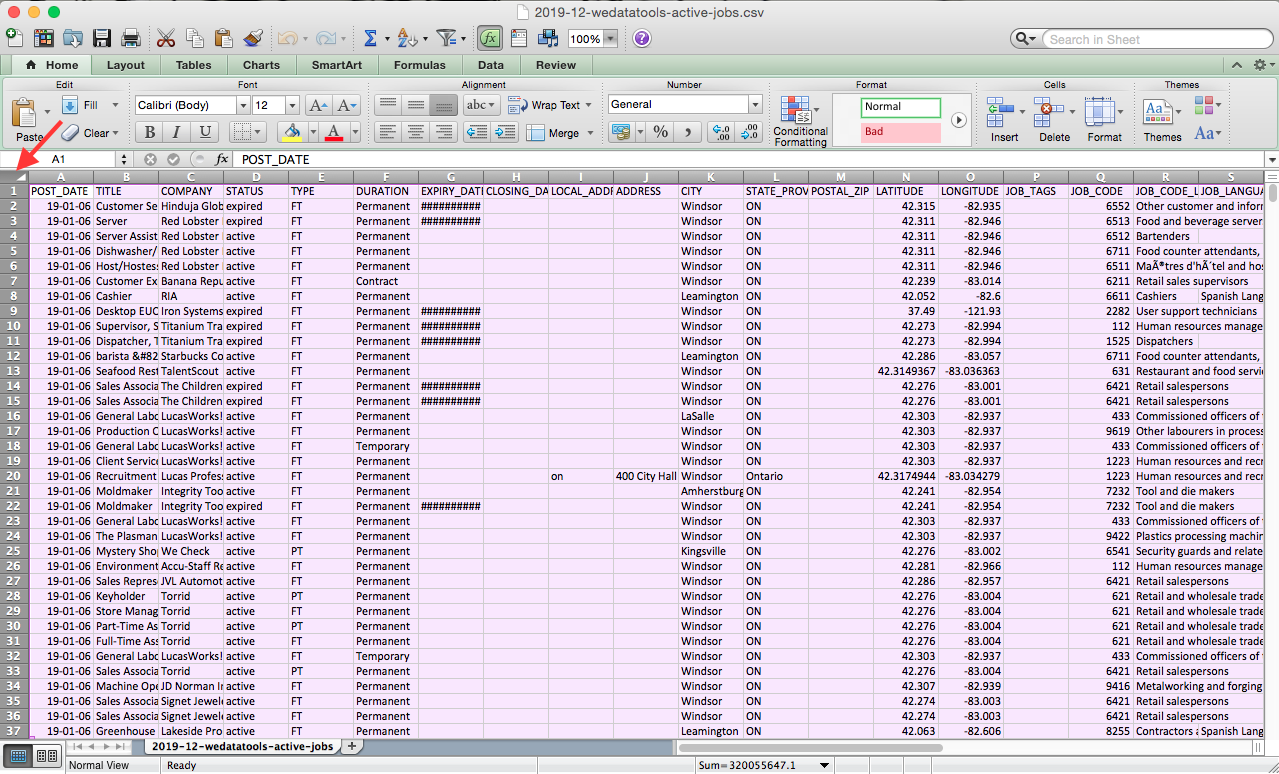
3. Select all of the data by clicking the top cell in the file. Once all the cells are highlighted, copy the data (CTRL+C). This data will later be copied into Google Sheets.
Google Sheets
Google Sheets is used to populate the Job Demand Report in Google Data Studio.
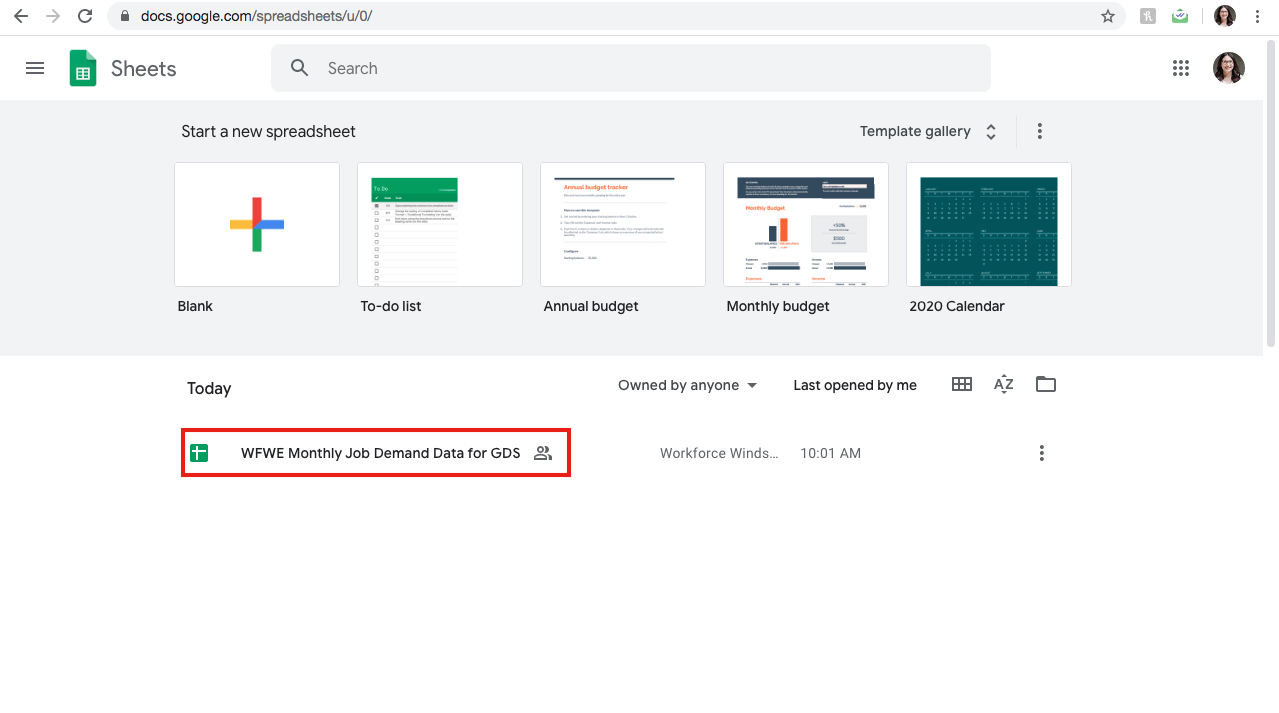
1. Go to Google Sheets. If you are not already logged in, you will be prompted to do so. Find the Job Demand Report file and click on it. If you don’t see the link to your report, consult your Data Tools representative.
2. The Job Posting Raw tab is where the data from the CSV file needs to be pasted.
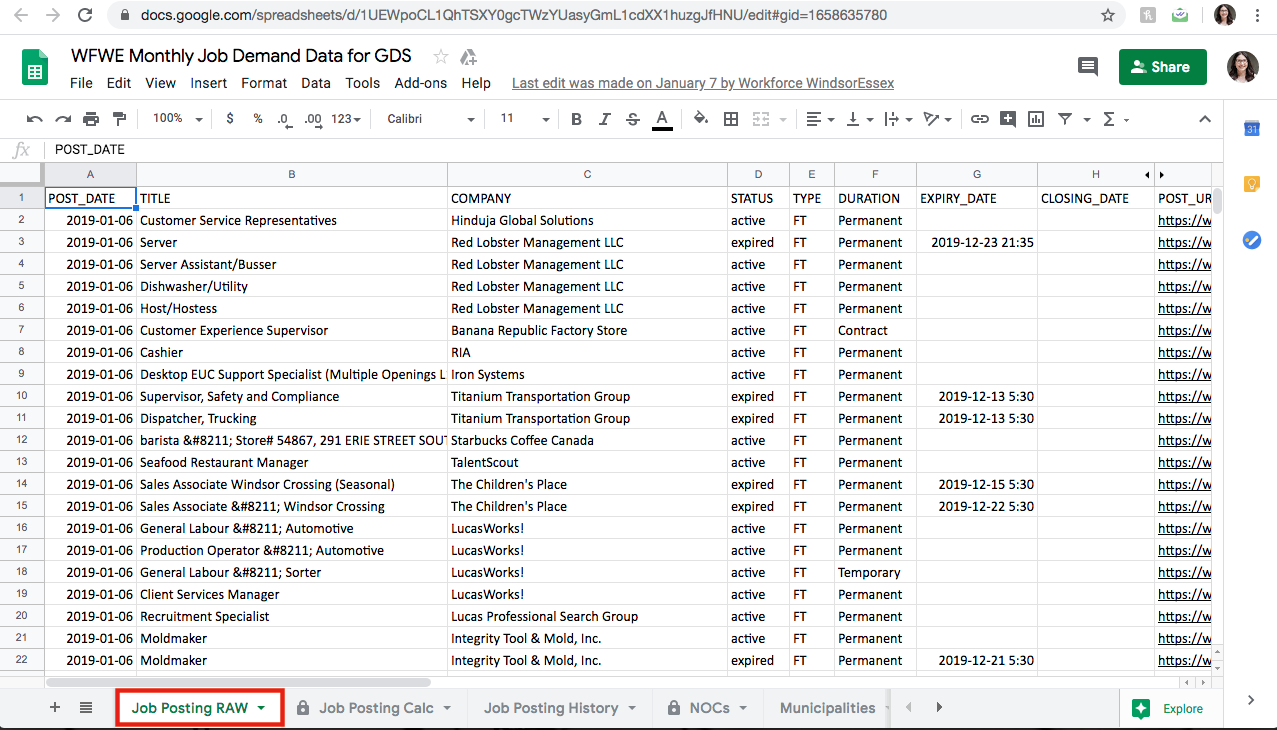
3. Similar to the CSV file, select all the data by clicking the top cell. Once all the cells are highlighted, delete the data by clicking the Delete button on your keyboard. Once the sheet is blank, paste the data from the CSV file (CTRL+V).
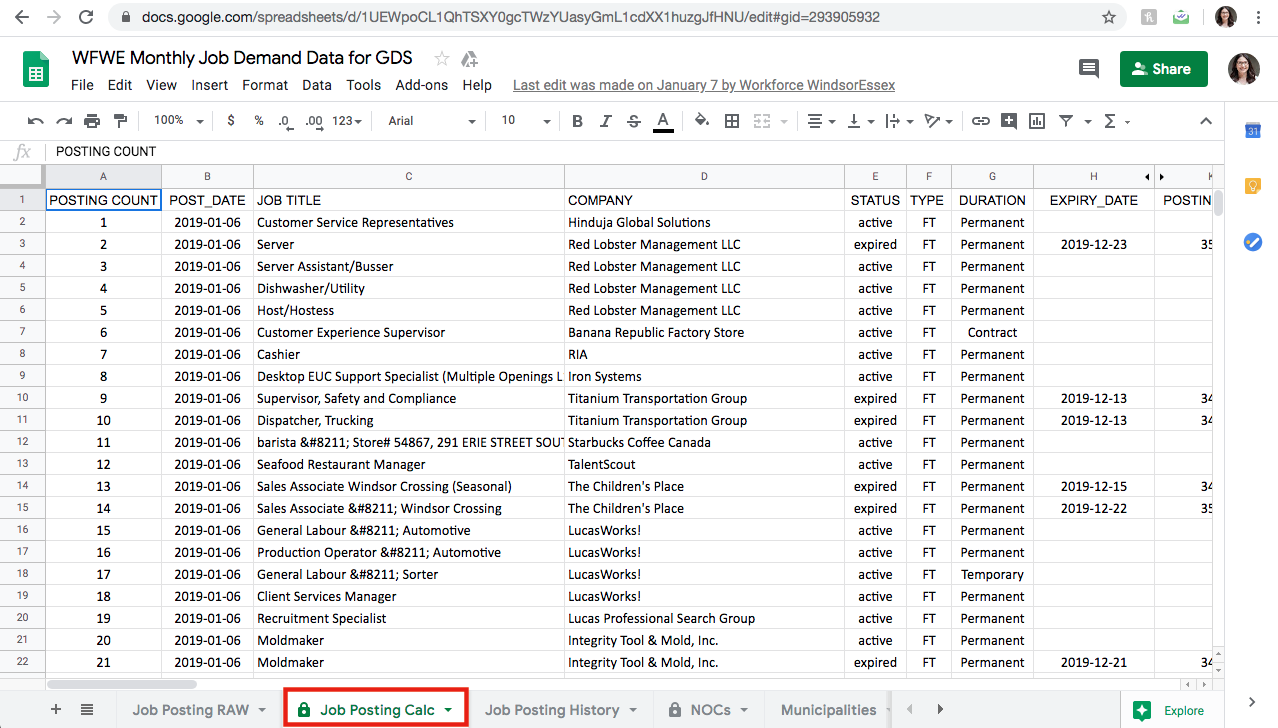
4. The Job Posting Calc sheet calculates data from the Job Posting Raw sheet and is not to be changed.
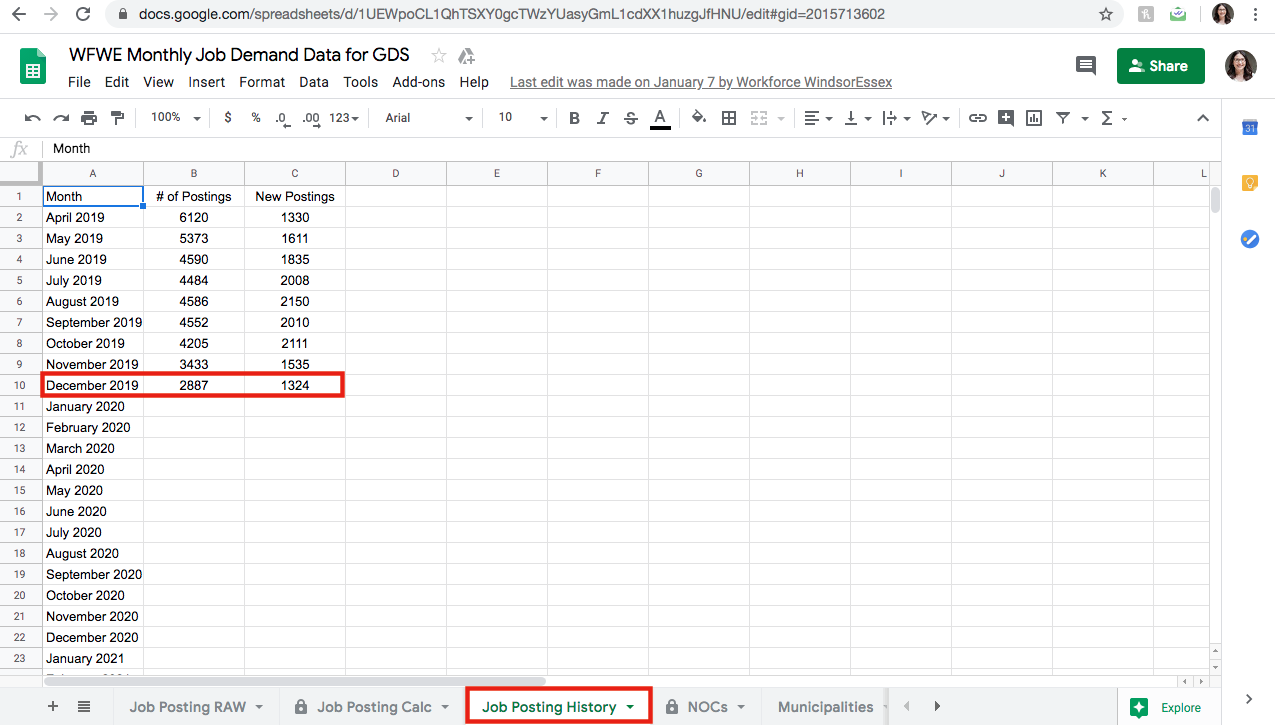
5. The Job Posting History sheet requires two values to be inputted for the given month. The # of Postings value is the value calculated from the CSV file (total rows – 1). The New Postings value will be generated by the Job Demand Report in Google Data Studio.
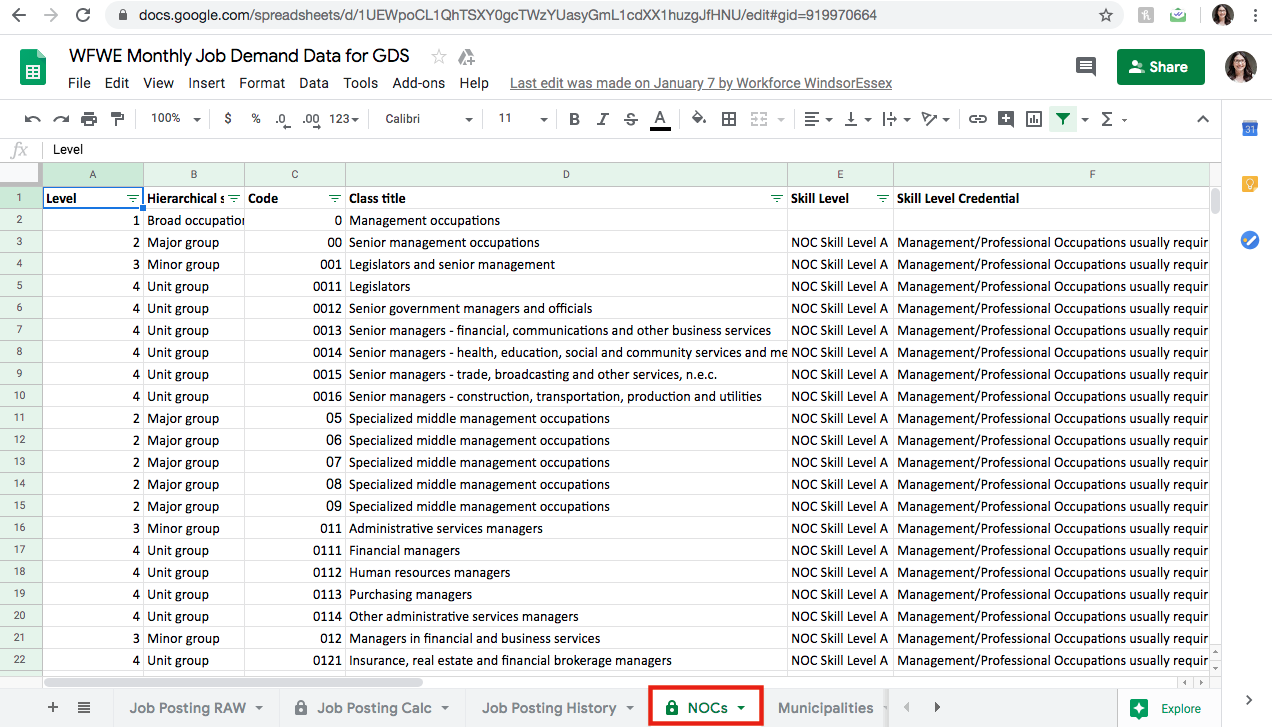
6. The NOCs sheet contains all the data for NOC codes and is not to be changed.
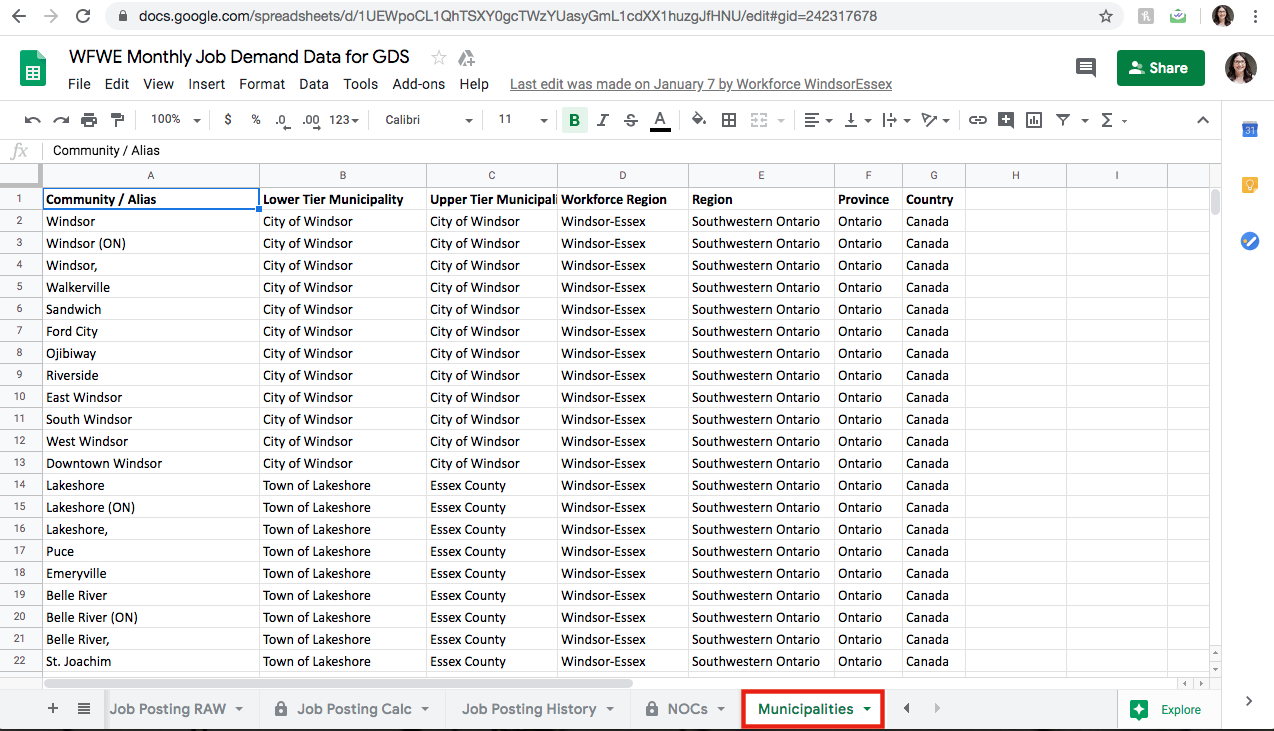
7. The Municipalities sheet contains the data for the communities within your region as well as the corresponding Lower Tier Municipalities and Upper Tier Municipalities which will be used in the Job Demand Report. This will be part of the initial setup of your system and should not require changes.
Google Data Studio
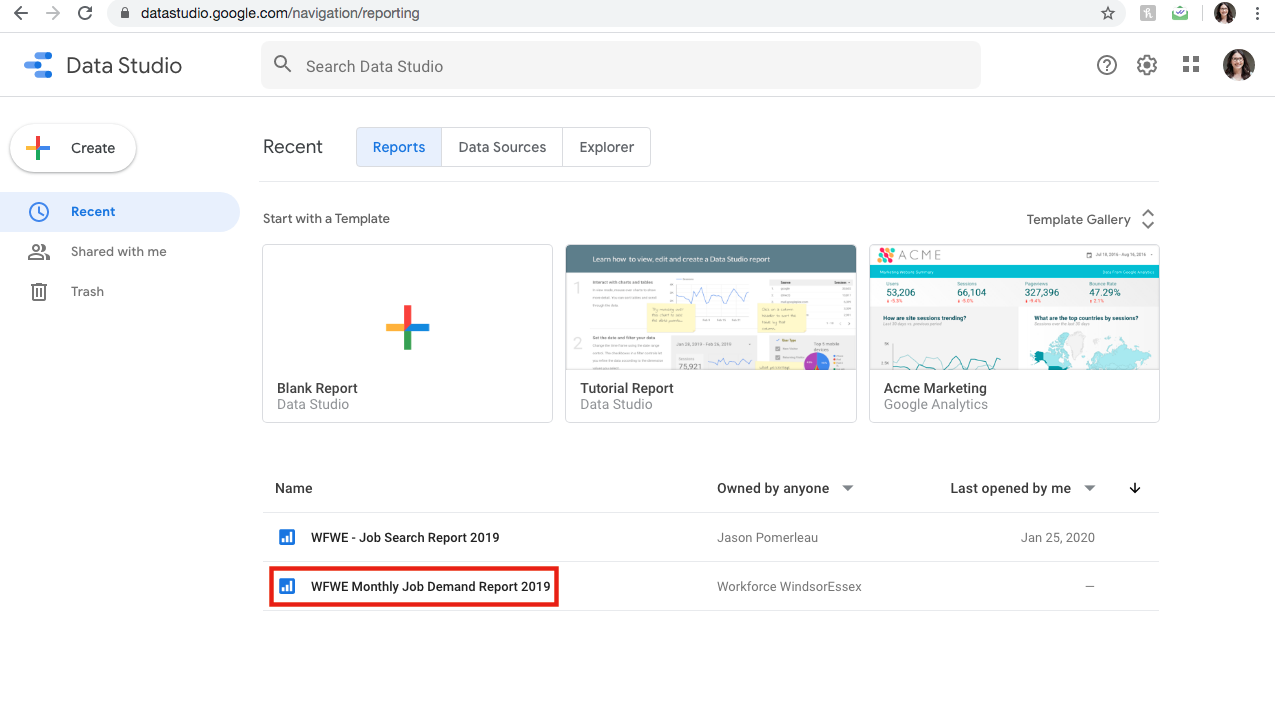
1. Go to Google Data Studio and click on the file for your Job Demand Report. If you do not see your report, consult your Data Tools representative.
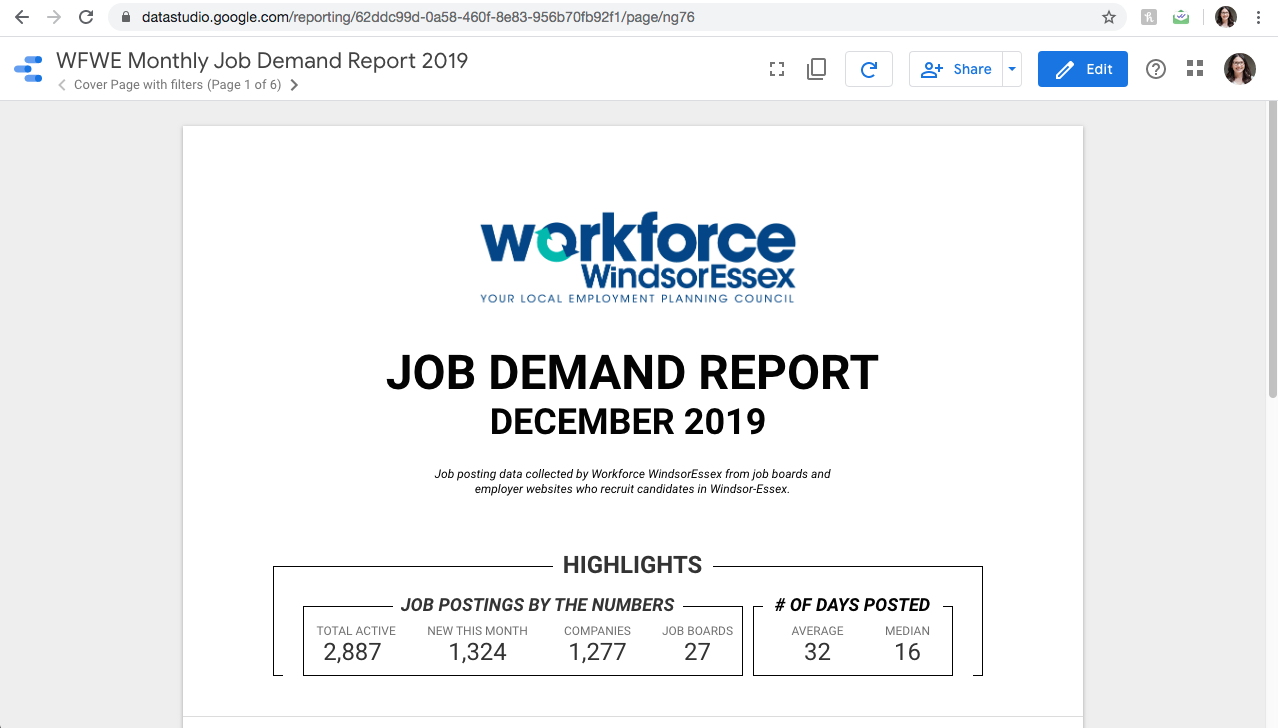
2. The report will be generated in real-time once the link is clicked. This may take a few minutes as it is pulling all the data from the Google Sheet. The New This Month value is the number that needs to be entered in the Job Posting History sheet in the Google Sheets file.
3. Navigate through the pages to view the data. Click on the headers in any of the grids to sort the data. The reports can be edited by clicking Edit. This will open an edit panel to change data sources, colours, graphs, tables. If you do not have access to the Edit button, contact your Data Tools representative to obtain access.
Additional support for Google Data Studio can be found here.